-
 ×
×
- Home
- Art Prints ▸
- Artists ▸
- Categories ▸
- Art Styles ▸
-
Picture Frame ▸
- All decorative frames
- Baroque decorative frames
- Simple decorative frames
- Rustic decorative frames
- Floating frames
- Golden decorative frames
- Silver decorative frames
- White decorative frames
- Black decorative frames
- Wood-look decorative frames
- Shabby chic decorative frames
- Thin decorative frames
- Thick decorative frames
-
Print Media ▸
- All print media
- Canvas Leonardo (satin)
- Canvas Salvador (matte)
- Canvas Raphael (matte)
- FineArt Photo Matte
- FineArt Photo Satin
- FineArt Photo Baryte
- FineArt Photo Glossy
- Watercolor Paper Munch
- Watercolor Paper Renoir
- Watercolor Paper Turner
- Watercolor Paper Dürer
- Natural Line Hemp
- Natural Line Rice
- Kozo White, 110g
- Kozo Natural, 110g
- Inbe White, 125g
- Unryu, 55g
- Bamboo, 110g
- Premio Unryu, 165g
- Murakumo Natural, 42g
- Bizan Natural, 300g
- Bizan White, 300g
- Aluminum composite 3mm
- Acrylic glass 5mm
- Order Sample Set
- Which print medium is right for you?
Canvas
Photo Paper
Watercolor Board
Natural Line
Japanese Paper
Special Media
More information
-
Help & Service ▸
- Contact us
- Sell your art
- Frequently Asked Questions
- Job Openings
- Complaint
- Order Samples
- Order Vouchers
- Shipping costs
- Production time
- Sustainability
- Image research
- Special requests
- Who are we?
- Pricing policy
- Company policy
- Quality promise
- Stretcher frame
- Mats
- Decorative frames
- Glazing
- Fillets
- Mounting systems
- Print media
- Care tips
- Legal Notice
- Terms & Conditions
- Privacy Policy
- Right of Cancellation
Info & Service
More information
Good to know
Legal information
- Shop ▸
- Contact





 View in 3D / AR
 Add to favorites
 Change wall color
 View picture in a room
.jpg "Untitled")
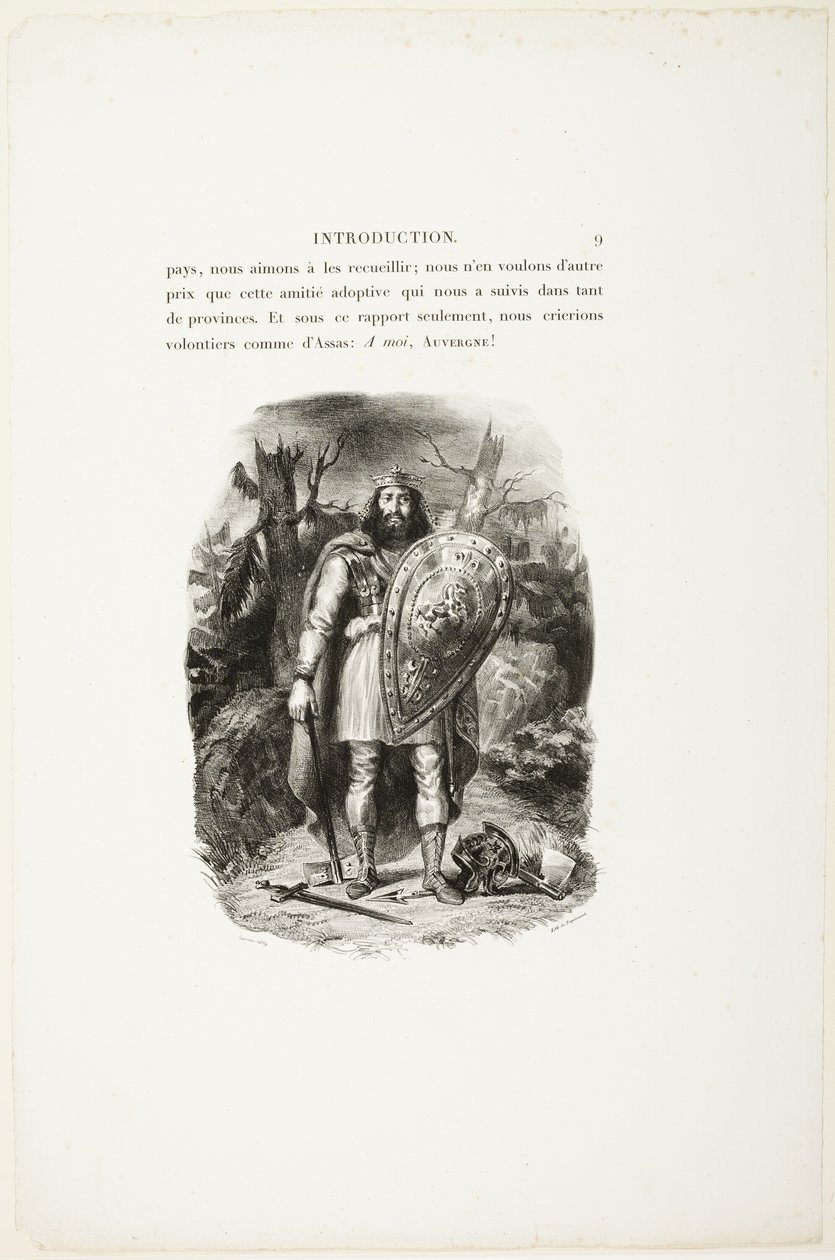
.jpg "Vercingetorix, 1829")
.jpg "Vercingetorix")
.jpg "Frontispiece of")
.jpg "Saint Gangulphus, from Saints of the North and South Netherlands")
_-_Judas_MakkabeuesIvdas_Machabevs_(title_on_object)Personen_uit_het_Oude_Testament_-_(MeisterDrucke-1360686).jpg "Judas Maccabeus")
.jpg "Walking Warrior with Shield")
.jpg "Sir Lamorack of Gales, illustration from")
 - (MeisterDrucke-52436).jpg "Portrait of Ralph Neville, Sixth Baron of Neville of Raby and First Earl of Westmoreland (1364-1425)")
.jpg "Mr Macready as Macbeth, Act I Scene 3, in the play by William Shakespeare")
.jpg "Exercise with shield and pike: the soldier returns the pike to the rest position in three movements, second movement (no. 11), 1618")
.jpg "Sir Tristram of Lyonesse, Illustration from")
.jpg "Prince Henry, Hotspur and Falstaff Shakespeare, King Henry")
.jpg "TYR")
 at Stirling - (MeisterDrucke-74872).jpg "Statue of King Robert the Bruce at Stirling")
.jpg "King Rorik")
.jpg "St. Gangulphus, 1650")
.jpg "Lybas: Greek who attended the siege of Troy, in the army of Ulysses")
.jpg "The Exercise with Shield and Pike: The Soldier in Position with His Rapier and Shield in Front of His Chest, 1618")
.jpg "The Exercise with the Targe and Rapier: The Soldier Holds the Drawn Rapier No Higher Than His Face (No. 5), 1618")
.jpg "Exercise with Shield and Spear: The Soldier Returns the Spear to Rest Position in Three Movements, Third Movement (No. 12), 1618")
.jpg "Albert the Magnanimous, King of Hungary and Croatia, 1397-1439")
.jpg "The Exercise with the Targe and Rapier: How the Soldier Should Close the Visor of His Helmet with the Targe and the Drawn Rapier in Hand (No. 7), 1618")
.jpg "Illustration taken from the book Histoire du chevalier Bayard by Theodore Cahu, illustrated by Paul De Semant: Death of Gaston de Foix at the Battle of Ravenna")
.jpg "Saint Bavo, from Saints of the North and South Netherlands")
.jpg "Mr. Garrick in")
_(Bourbon_-_(MeisterDrucke-1656528).jpg "Portrait of Louis II of Bourbon, Prince of Condé (known as Le Grand Condé)")
.jpg "Vladislaus III of Varna")
.jpg "Exercise with Shield and Spear: The Soldier Brings the Shield Back on the Back with His Left Arm (no. 26), 1618")
.jpg "The Combat of the Giaour and Hassan, 1826")
_-_(MeisterDrucke-1254739).jpg "Jewish Woman of Algiers and a Street in Algiers")
.jpg "Flower Still Life")
.jpg "Tiger")
.jpg "The Vampire, 1852")
_Sketch_of_Upper_Arm_(verso)_-_(MeisterDrucke-1286076).jpg "Standing Academic Male Nude (recto); Sketch of Upper Arm (verso)")
.jpg "The Death of Ophelia, 1853")
.jpg "Saint Mary Magdalene in the Desert, 1845")
_-_(MeisterDrucke-1246496).jpg "Players Enacting the Poisoning of Hamlet")
_-_(MeisterDrucke-1257151).jpg "The Murder of Polonius (Act III, Scene IV)")
.jpg "Tam O")
.jpg "Women of Algiers, 1833")
_-_(MeisterDrucke-1303623).jpg "Illustration for Hamlet: Hamlet and the Queen (III,4)")
_-_(MeisterDrucke-1300757).jpg "Illustration to Hamlet. The Queen Tries to Cheer Hamlet (I,2)")
_-_(MeisterDrucke-1261118).jpg "Illustration for Hamlet: The Players Represent the Death of Hamlet")
.jpg "Self-Portrait as the Allegory of Painting")
.jpg "In the Grey, 1919")
.jpg "The Grosse Gehege near Dresden, 1832")
.jpg "Church in Cassone")
.jpg "Alpine Landscape at Sunset")
.jpg "The Waterlily Pond, 1904")
.jpg "Whirl of Love, c. 1917.")
.jpg "Return of the Prodigal Son")
.jpg "Upwards")
.jpg "The Magpie")
.jpg "First Steps")
.jpg "Praying Hands")
.jpg "Composition C; Composition No. III; Composition with Red, Yellow")
.jpg "Women of Tahiti, On the Beach, 1891")
.jpg "Collage on a Black Background")

 +43 4257 29415
 support@meisterdrucke.com
 Mo-Do: 7:00 - 16:00 | Fr: 7:00 - 13:00