-
 ×
× - Home
- Art Prints ▸
- Artists ▸
- Categories ▸
- Art Styles ▸
- Picture Frame ▸
- All decorative frames
- Baroque decorative frames
- Simple decorative frames
- Rustic decorative frames
- Floating frames
- Golden decorative frames
- Silver decorative frames
- White decorative frames
- Black decorative frames
- Wood-look decorative frames
- Shabby chic decorative frames
- Thin decorative frames
- Thick decorative frames
- Print Media ▸
- All print media
- Canvas Leonardo (satin)
- Canvas Salvador (matte)
- Canvas Raphael (matte)
- FineArt Photo Matte
- FineArt Photo Satin
- FineArt Photo Baryte
- FineArt Photo Glossy
- Watercolor Paper Munch
- Watercolor Paper Renoir
- Watercolor Paper Turner
- Watercolor Paper Dürer
- Natural Line Hemp
- Natural Line Rice
- Kozo White, 110g
- Kozo Natural, 110g
- Inbe White, 125g
- Unryu, 55g
- Bamboo, 110g
- Premio Unryu, 165g
- Murakumo Natural, 42g
- Bizan Natural, 300g
- Bizan White, 300g
- Aluminum composite 3mm
- Acrylic glass 5mm
- Order Sample Set
- Which print medium is right for you?
Canvas
Photo Paper
Watercolor Board
Natural Line
Japanese Paper
Special Media
More information
- Help & Service ▸
- Contact us
- Sell your art
- Frequently Asked Questions
- Job Openings
- Complaint
- Order Samples
- Order Vouchers
- Shipping costs
- Production time
- Sustainability
- Image research
- Special requests
- Who are we?
- Pricing policy
- Company policy
- Quality promise
- Awards
- Stretcher frame
- Mats
- Decorative frames
- Glazing
- Fillets
- Mounting systems
- Print media
- Care tips
- Legal Notice
- Terms & Conditions
- Privacy Policy
- Right of Cancellation
Info & Service
More information
Good to know
Legal information
- Shop ▸
- Contact





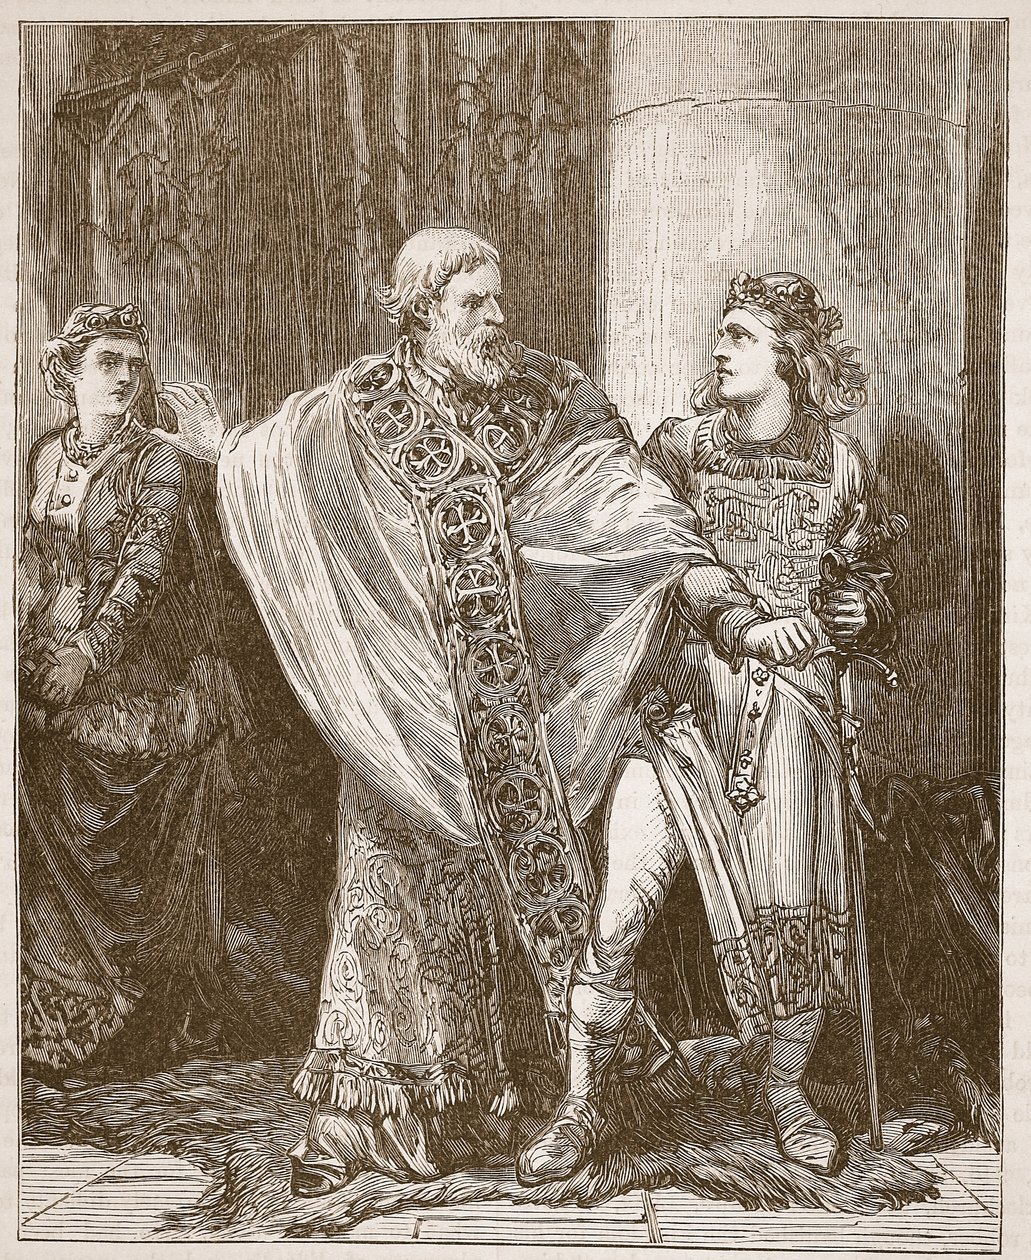
.jpg)
.jpg)
 View in 3D / AR
 Add to favorites
 Change wall color
 View picture in a room
.jpg "Henry")
.jpg "King Anguish gives Isolt to Sir Tristram, illustration from")
_-_(MeisterDrucke-36651).jpg "Richard III")
.jpg "Honest Iago, my Desdemona must I leave to thee: plate 4 from Othello, etched 1844, reprinted 1900")
_Count_of_Perigord_(968-995_-_(MeisterDrucke-914863).jpg "Feudal regime:")
.jpg "Edward receiving King John of France (Illustration from Cassell")
.jpg "Simon de Montfort Quarrelling with Henry III")
_and_Queen_Isabeau_(Isabell_-_(MeisterDrucke-914138).jpg "Marguerite de Baviere, Duchess of Burgundy (1363-1423) and Queen Isabeau of Baviere (1371-1435) separate Louis I of Valois, Duke of Orleans (1372-1407) and Jean Sans Peur, Duke of Burgundy (1371-1419), who fight for the government")
.jpg "Romeo and Juliet, 1890")
.jpg "Arrest of the Duke of Gloucester, illustration from")
.jpg "Put away from you that sword, illustration from")
.jpg "Waltheof")
.jpg "Marriage of Henry I and Matilda (Illustration from Cassell")
_-_(MeisterDrucke-914846).jpg "Lucrezia Borgia and her first husband Giovanni Sforza d")
.jpg "King Anguish Gives Isolt to Sir Tristram")
.jpg "Hereward and Sigtryg, from")
.jpg "Arrest of the Duke of Gloucester (Illustration from Cassell")
_-_(MeisterDrucke-1259769).jpg "Illustration for Hamlet: Hamlet and Guildenstern (III,2)")
.jpg "Scene from Hamlet - King, Ophelia, and Laertes, 1852")
.jpg "The marriage of Giulia Farnese to Orsino Orsini in the house of Rodrigo Borgia, 1489 - engraving from \"Lucrezia Borgia\" by Oscar Pio - 1883")
_-_(MeisterDrucke-1651198).jpg "Death of Cardinal Beaton, 29th May 1546")
.jpg "Marriage of Henry the First, engraved by Delatre, illustration from David Hume")
.jpg "An Earl Defies His King. The Earl of Norfolk and King Henry")
.jpg "Saint Eloi and Dagobert: Dagobert was amazed when Eloi introduced him the second armchair - engraving, 19th century")
.jpg "Joan of Arc Recognizes the King, 1882")
.jpg "Hamlet: Hamlet and Guildenstern")
.jpg "Don Juan, play by Jean Baptiste Poquelin dit Moliere")
.jpg "Hamlet: Hamlet and Guildenstern")
.jpg "Church and Cottage with Lighted Windows")
.jpg "Portrait of a bodybuilder, c. 1898")
.jpg "The")
.jpg "Portrait of King Richard III")
 c1740-50 - (MeisterDrucke-77045).jpg "Kidbrooke Park, Kent, formerly attributed to George Lambert (1700-65) c.1740-50")
_-_(MeisterDrucke-1421446).jpg "Map of Europe in 1910")
_Socrates_-_-_From_series_-_(MeisterDrucke-1061281).jpg "Portrait of the Greek philosopher Socrates (469-399 BC) - From the series “Leaders of Men” - Chromolithography - English School, 20th century")
.jpg "Detailed Map of Gallipoli Peninsula and the Dardanelles, Turkey, 1915, from")
.jpg "Romeo buys poison from the apothecary, illustration from Romeo and Juliet, from \"The Illustrated Library Shakespeare\", published in London 1890")
.jpg "The Kitchen, Cotehele House, c.1830-40")
.jpg "Scorpion Fish, plate 8 from “The Zoology of the Voyage of H.M.S Beagle, 1832-36” by Charles Darwin")
.jpg "Map of the world with possessions of the British Empire coloured red, c. 1870")
_p_-_(MeisterDrucke-63913).jpg "Poster advertising ‘A Midsummer Night")
_Henry_M_-_(MeisterDrucke-421535).jpg "A Map of Africa to Illustrate the Travels of David Livingstone (1813-73), Henry Morton Stanley (1841-1904) and Verney Lovett Cameron (1844-94)")
.jpg "An Allegory of the Tudor Succession: The Family of Henry VIII, c. 1589-95")
.jpg "Wheat Field with Cypresses")
.jpg "Blue Fox, 1911")
.jpg "Mending the Sail, 1896")
 1573 - (MeisterDrucke-92540).jpg "Autumn, from a series depicting the four seasons, commissioned by Emperor Maximilian II (1527-76), 1573")
.jpg "The Magpie, 1869")
.jpg "Strolling along the Seashore, 1909")
.jpg "Moonrise over the Sea")
.jpg "Dog Lying in the Snow")
.jpg "Wisteria, 1919-20")
.jpg "Circe Offering the Cup to Ulysses, 1891")
.jpg "View of Arles with Iris Flowers in the Foreground")
.jpg "The Lady of Shalott")
.jpg "The Oceanids")
.jpg "The Great Wave off Kanagawa, after Katsushika Hokusai")
.jpg "Beautiful Princess")

 +43 4257 29415
 support@meisterdrucke.com
 Mo-Do: 7:00 - 16:00 | Fr: 7:00 - 13:00