support@meisterdrucke.com  ·  0043 4257 29415

Deutsch English Italiano Español Français Nederlands Português Svenska Polski Dansk
Search by artist, work title or style – e.g. Monet, Starry Night, Impressionism, Hokusai wave, nude. Describe the scene – e.g. green meadow, abstract with lots of red, dark oil painting, standing nude next to a tree.

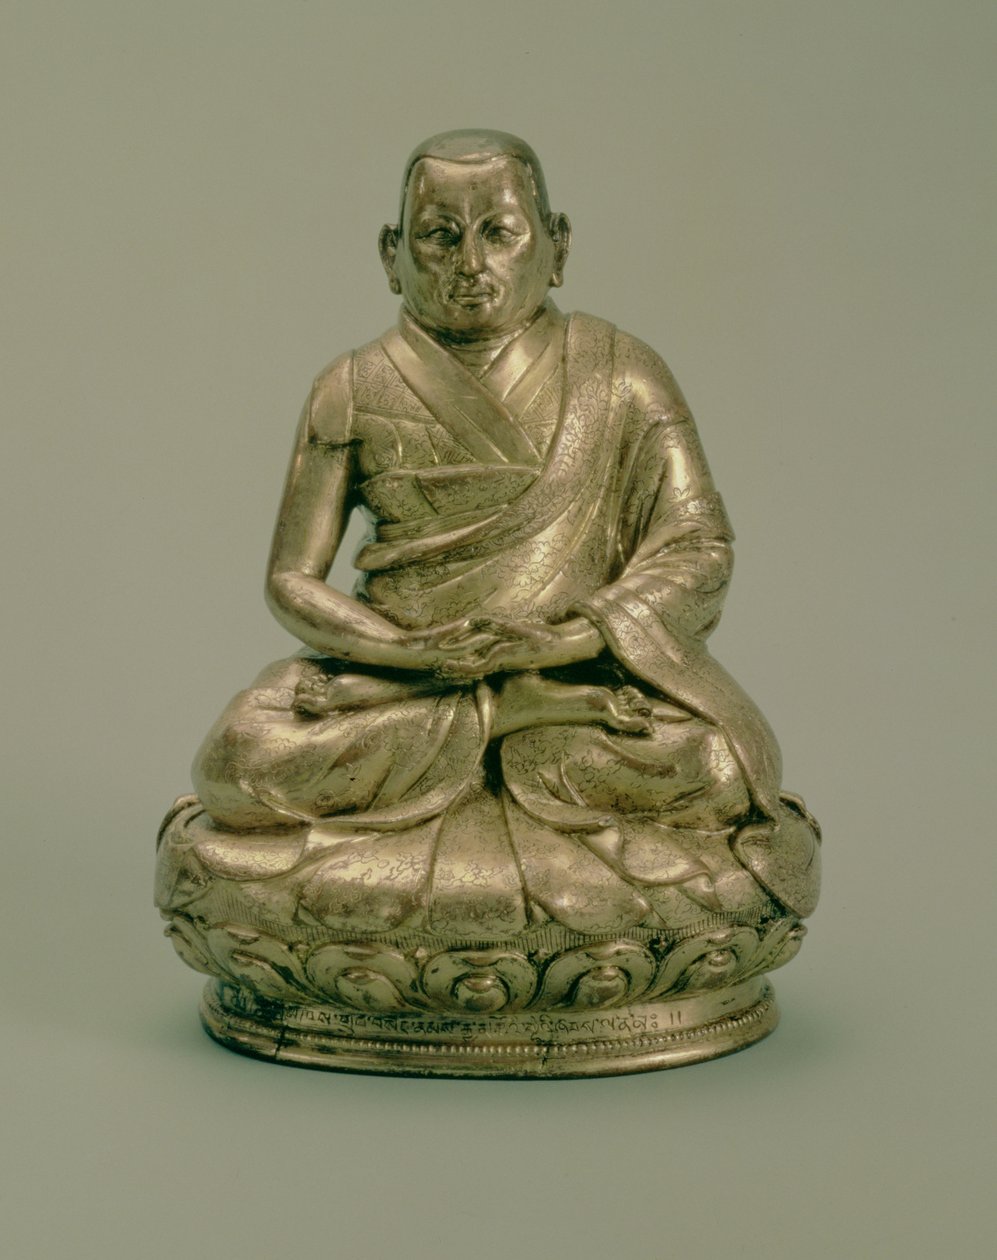
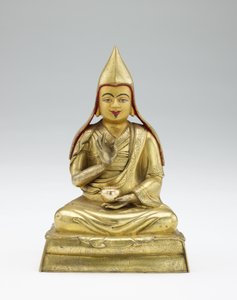
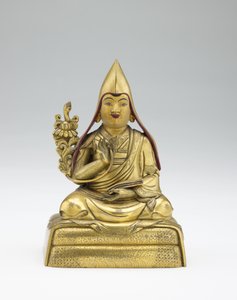
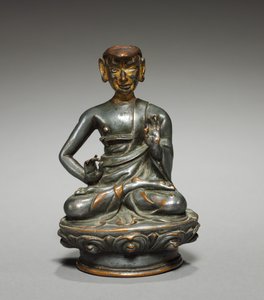
Sonam Gyatso (1543-89), Third Dalai Lama, 16th-17th century by Tibetan School

Sonam Gyatso (1543-89), Third Dalai Lama, 16th-17th century

(Sonam Gyatso (1543-89), Third Dalai Lama, 16th-17th century (gilded copper))


Tibetan School

€ 139.82
Includes 13.5% VAT
   Configure art print
Undated  ·  gilded copper  ·  Image ID: 58447

Cultural Circles  ·  Photographs of old objects

Sonam Gyatso (1543-89), Third Dalai Lama, 16th-17th century by Tibetan School. Available as an art print on canvas, photo paper, watercolor board, natural paper, or Japanese paper.
c16th · c17th · statue · inscription on pedestal · in tibetan · buddhism · buddhist · holy · sacred · asian · tibet · State Hermitage Museum, St. Petersburg, Russia / Bridgeman Images
Other color versions of this image  
AR/3D   View in 3D / AR zu Favoriten hinzufügen   Add to favorites    Change wall color    View picture in a room
0 Reviews

Configure art print

Picture Frame

Medium & Stretcher

Glass & Passepartout

Miscellaneous & Extras

 Save / compare configuration
Preview Icon

Summary

Gemälde
Veredelung
Keilrahmen
Museumslizenz

€ 139.82
(inkl. 20% MwSt)
   Add to cart

Bildschärfe: PERFEKT

If you'd like us to adjust the brightness, colors, or crop the image, we're happy to do this for you at no extra cost. Just get in touch!

Similar artworks selected for you

Portrait of Dharmakirti Unidentified Teacher, from a Partial Set of Lamas and Teachers, Mid 19th Century Buddha image from the Ayutthaya Period Unidentified Teacher, from a Partial Set of Lamas and Teachers, Mid 19th Century Shalu Lama Rinchen Khyenrab Chokdrub Palzangpo, c.1600 Buddha Vairocana (Dari), Tang Dynasty, Early 8th Century Seated Buddha with flaming shoulders, Chinese Six Dynasties Period, Northern Wei dynasty, 3rd-5th century Unidentified teacher, mid 19th century Twelfth Dalai Lama, Trinlay Gyatso, mid 19th century Seated Buddha Vajradhara Buddha Unidentified teacher, mid 19th century Shakyamuni as an Ascetic Buddha Amitayus Seated in Meditation Holding the Vase of Nectar (amrta) in His Lap Unidentified teacher, mid 19th century Buddha Statue, Nepal 15th Century Javanese figure of Padmapani, late 9th century Dragon Tamer Luohan, circa 14th century Arhat (holy men): three from the Five Hundred Arhat Figure of a seated lohan Unidentified Teacher Preaching Buddha / Sculpture, 8th Century Seated Tara Arhat (holy men): three from the Five Hundred Arhat Amida Buddha on a Lotus Pedestal Miroku Bosatsu Amida Buddha as the Healer, Lan Na culture
Show more similar artworks

More art prints by Tibetan School

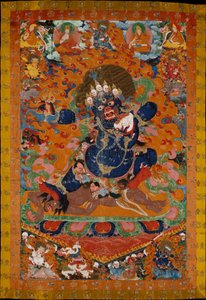
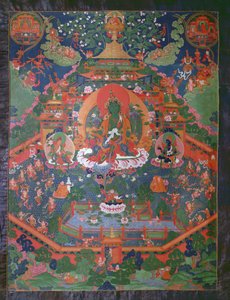
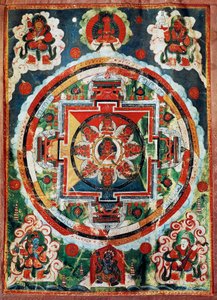
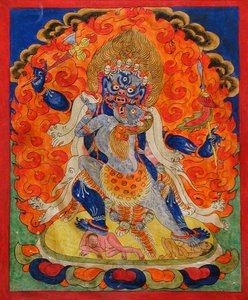
Yamantaka, Destroyer of the God of Death, c. 1700-30 Buddha and three Jataka: Mahakapi, Ruru, Shaabhamiga Thangka of Padmasambhava, c.749 AD Mandala of Vaishravana Thangka Depicting Green Tara Tibetan Mandala known as the Four Heavenly Kings, Tibetan civilization Life of Buddha Sakyamuni, the Armies of Mara Attacking the Blessed One Thangka painting depicting Baishajyaguru, Menla and seven other Medicine Buddhas, 1780-1880 Bardo Mandala, Thangka showing the period between death and reincarnation A Terrifying Deity in Yab-Yum, 19th century Mahakala dance mask Parinirvana and the Death of Buddha, from Dharmachakra Wheel of Life being turned by Yama the Lord of Death, with scenes symbolising the twelve links which cause uncontrolled rebirth around the rim, Tibetan, 1780-1850 Buddha Amitayus seated in meditation holding the vase of nectar, amrita, in his lap The Paradise of Shambhala, Tibetan Banner
Show more works by Tibetan School

More motifs from the category Photographs of old objects

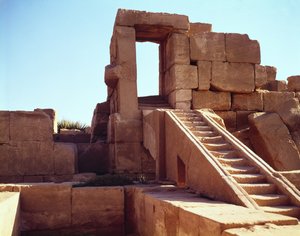
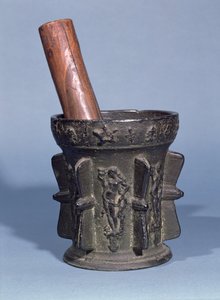
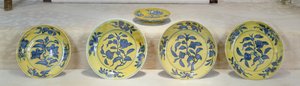
Stela 14 Depicting a Ballplayer (detail) The stairway leading to the Festival hall of Tuthmosis III in the Great Temple of Amun, New Kingdom Seated statue of the god Amon protecting Tutankhamun, New Kingdom, c. 1336-1327 BC Acoustic instruments, cornets belonging to Ludwig van Beethoven (1770-1827), c. 1813 Apothecary’s mortar and pestle Yellow ground dishes painted in underglaze blue, Ming Dynasty St. Anthony Preaching, relief from the Salviati chapel Female Statuette from Nayarit, Mexico, 300 BC - 500 AD Ring depicting Ptolemy VI Philometor (c. 186-c. 145 BC) Barometer Marie-Adélaïde de Savoie, Duchess of Burgundy, as Diana the Huntress, 1709 One of the Lunigiana stele, found in Bigliolo, c.3000 BC The Study of Federigo da Montefeltro, Duke of Urbino: intarsia panelling depicting (L) an open cupboard of books and (R) Hope in an architectural niche with musical instruments on a shelf below Madame Cactus II, 1939-40 Meissen cup, cover and saucer, painted by Angelica Kauffmann (1741-1807)
View More from "Photographs of old objects"

A selection of our top sellers

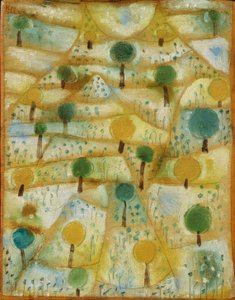
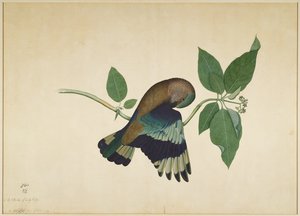
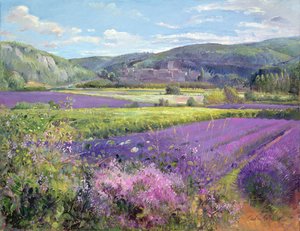
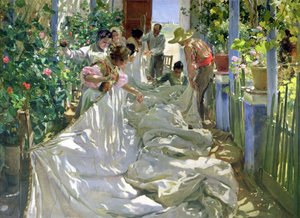
Small Rhythmic Landscape Blue Fox, 1911 Indian Roller on Sandalwood Branch, folio from a Series Commissioned by Lady Impey, 1779 Lavender Fields in Old Provence Mending the Sail, 1896 In the Shadow of an Italian Pergola, A Warm Afternoon in Anacapri Path in the Wheat at Pourville, 1882 Lisbeth Impression, Sunrise The Attic Room Himalayas The Little Shepherdess The Japanese Bridge Haystacks After Sunset
Show more artworks


What our customers think about us


Frequently Asked Questions about Meisterdrucke


Personalizing your art print at Meisterdrucke is simple and intuitive: Choose a frame, set the image size, pick a printing medium, and add suitable glazing or a stretcher frame. We also offer additional customization options like mats, fillets, and spacers. If you have any questions, our customer service team is ready to help you create your perfect artwork.

At Meisterdrucke, you can visualize your configured artwork directly in your own room. Simply upload a photo of your space and see how the artwork looks in it. If you're visiting us on a mobile device — phone or tablet — our augmented reality feature brings the picture to life and projects it right into your room. A unique experience that combines art and technology.

Choosing the right medium is often a matter of personal taste. To give you a better idea, we've provided some images for each medium. We also offer a sample set of all paper variants, so you can decide not just visually but by touch as well. You can order the sample set free of charge — only shipping costs apply.

Don't worry! At Meisterdrucke, we don't just process orders mechanically. Every order is manually reviewed by our team. If we spot any inconsistencies or issues with your configuration, we'll get in touch with you right away. And of course, our friendly and patient support team is always here to help you with your configuration. We'll work with you by phone or email to adjust your image so the final result is exactly what you had in mind.


Still have questions?

Are you interested in an art print from our manufactory but still unsure? Do you need advice on choosing the medium or help with the order?

Our experts are happy to assist you.

+43 4257 29415
support@meisterdrucke.com

Mo-Do: 7:00 - 16:00 | Fr: 7:00 - 13:00

Still have questions?

Are you interested in an art print from our manufactory but still unsure? Do you need advice on choosing the medium or help with the order?

Our experts are happy to assist you.

+43 4257 29415
support@meisterdrucke.com
Mo-Do: 7:00 - 16:00 | Fr: 7:00 - 13:00


Meisterdrucke

   Kärntner Strasse 46
        9586 Finkenstein am Faaker See
        Austria
        +43 4257 29415
        support@meisterdrucke.com
Other languages

                   
Erfahrungen & Bewertungen zu Meisterdrucke
Post.at DHL Express Quehenberger Cargoboard
Kaiser Franz Joseph

Meisterdrucke
Kärntner Strasse 46
9586 Finkenstein am Faaker See · Austria
+43 4257 29415 · support@meisterdrucke.com
Post.at DHL Express Quehenberger Cargoboard


(c) 2026 meisterdrucke.ie