-
 ×
×
- Home
- Art Prints ▸
- Artists ▸
- Categories ▸
- Art Styles ▸
-
Picture Frame ▸
- All decorative frames
- Baroque decorative frames
- Simple decorative frames
- Rustic decorative frames
- Floating frames
- Golden decorative frames
- Silver decorative frames
- White decorative frames
- Black decorative frames
- Wood-look decorative frames
- Shabby chic decorative frames
- Thin decorative frames
- Thick decorative frames
-
Print Media ▸
- All print media
- Canvas Leonardo (satin)
- Canvas Salvador (matte)
- Canvas Raphael (matte)
- FineArt Photo Matte
- FineArt Photo Satin
- FineArt Photo Baryte
- FineArt Photo Glossy
- Watercolor Paper Munch
- Watercolor Paper Renoir
- Watercolor Paper Turner
- Watercolor Paper Dürer
- Natural Line Hemp
- Natural Line Rice
- Kozo White, 110g
- Kozo Natural, 110g
- Inbe White, 125g
- Unryu, 55g
- Bamboo, 110g
- Premio Unryu, 165g
- Murakumo Natural, 42g
- Bizan Natural, 300g
- Bizan White, 300g
- Aluminum composite 3mm
- Acrylic glass 5mm
- Order Sample Set
- Which print medium is right for you?
Canvas
Photo Paper
Watercolor Board
Natural Line
Japanese Paper
Special Media
More information
-
Help & Service ▸
- Contact us
- Sell your art
- Frequently Asked Questions
- Job Openings
- Complaint
- Order Samples
- Order Vouchers
- Shipping costs
- Production time
- Sustainability
- Image research
- Special requests
- Who are we?
- Pricing policy
- Company policy
- Quality promise
- Stretcher frame
- Mats
- Decorative frames
- Glazing
- Fillets
- Mounting systems
- Print media
- Care tips
- Legal Notice
- Terms & Conditions
- Privacy Policy
- Right of Cancellation
Info & Service
More information
Good to know
Legal information
- Shop ▸
- Contact





 View in 3D / AR
 Add to favorites
 Change wall color
 View picture in a room
.jpg "Historiated initial, from a Latin Bible")
.jpg "An Eclipse of the Sun, Illustration from Astronomicum Caesareum by Peter Apian, Published in Ingolstadt, 1540")
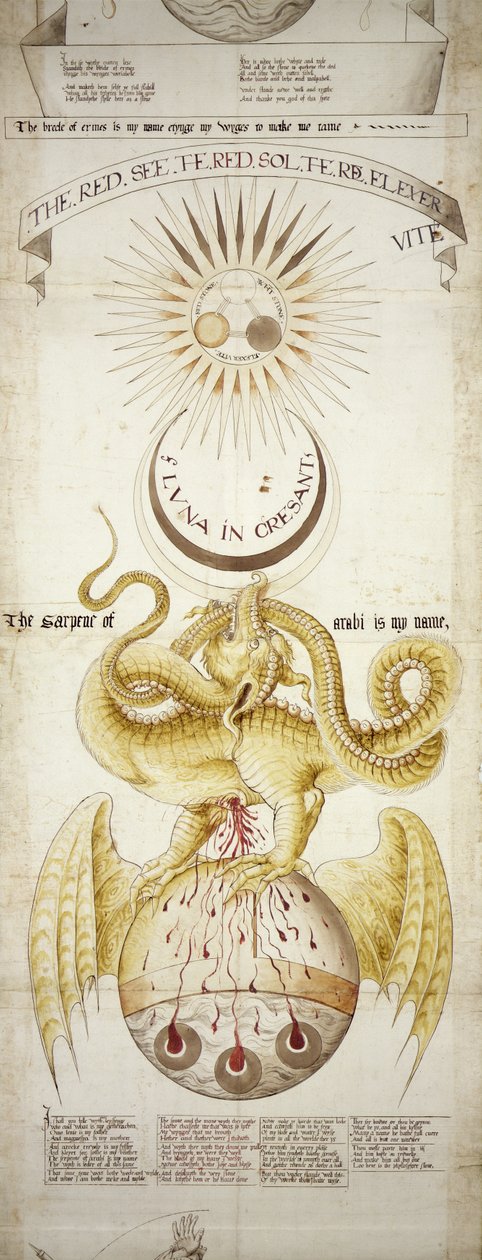
.jpg "Emblematic diagram of the alchemical processes for the production of the Philosophers Stone, scene I, from the Ripley Scrolls")
_-_(MeisterDrucke-1352382).jpg "Game-book")
.jpg "Illustration from")
.jpg "Draco")
.jpg "Job")
.jpg "Draco and Ursa Minor, from")
_-_(MeisterDrucke-1510349).jpg "Draco and Ursa Minor")
.jpg "Ouroboros, delta, and the divine eye with the sun, from The Kneph, 1881-1900")
.jpg "Dragon in Foliage with Lion and Phoenix Heads")
_Italian_School_-_A_triton_and_an_ouroboros_illustration_Emblemata_(Emblematum_libellus)_by_Andrea_-_(MeisterDrucke-937819).jpg "A Triton and an Ouroboros, illustration")
.jpg "Spectacled Caiman and a False Coral Snake, 1705")
.jpg "Frieze with Neptune and Tritons, c. 1517")
.jpg "Dynamic Dragon Power")
_Illustra_-_(MeisterDrucke-1483443).jpg "Slit Worm Shell")
.jpg "Frontispiece with the Visconti and Sforzeschi Arms")
.jpg "Page of the Manuscript")
_-_(MeisterDrucke-1350099).jpg "Game-book")
.jpg "Allegory of Vices")
.jpg "\"Fiery the Angels Rose\", plate 11 from")
.jpg "The Dragon Symbolising the Sun")
.jpg "Designs executed for Jones and Willis, metal and wood-workers and church furniture manufacturers of Birmingham and London")
.jpg "Sanskrit medical manuscript")
.jpg "Ornament with Two Genii Riding on Two Chimeras")
.jpg "Prophecies and images of the fifteenth Pope, by Joachim of Fiore")
.jpg "The seven headed dragon attempts to harm the woman by spewing out a torrent of water, facsimile of the Bamberg Apocalypse")
 of Sultan Ahmed III (r 1703-1730) - (MeisterDrucke-3495).jpg "Berat of Sultan Ahmed III")
.jpg "Python (from: Alchemical and Rosicrucian Compendium)")
.jpg "Church and Cottage with Lighted Windows")
.jpg "Portrait of a bodybuilder, c. 1898")
.jpg "The")
.jpg "Portrait of King Richard III")
 c1740-50 - (MeisterDrucke-77045).jpg "Kidbrooke Park, Kent, formerly attributed to George Lambert (1700-65) c.1740-50")
_-_(MeisterDrucke-1421446).jpg "Map of Europe in 1910")
_Socrates_-_-_From_series_-_(MeisterDrucke-1061281).jpg "Portrait of the Greek philosopher Socrates (469-399 BC) - From the series “Leaders of Men” - Chromolithography - English School, 20th century")
_p_-_(MeisterDrucke-63913).jpg "Poster advertising ‘A Midsummer Night")
.jpg "Detailed Map of Gallipoli Peninsula and the Dardanelles, Turkey, 1915, from")
 - (MeisterDrucke-99297).jpg "Improved Map of India, published in London 1820")
.jpg "Scorpion Fish, plate 8 from “The Zoology of the Voyage of H.M.S Beagle, 1832-36” by Charles Darwin")
.jpg "The Kitchen, Cotehele House, c.1830-40")
.jpg "Romeo buys poison from the apothecary, illustration from Romeo and Juliet, from \"The Illustrated Library Shakespeare\", published in London 1890")
.jpg "The Mountains of Ararat, or The Manner how the Whole Earth was Peopled by Noah and his Descendants after the Flood, engraved for the")
.jpg "An Allegory of the Tudor Succession: The Family of Henry VIII, c. 1589-95")
.jpg "Woman at a Window")
.jpg "The Cave of the Storm Nymphs, 1903")
.jpg "The Resurrection of Christ, from the right wing of the Isenheim Altarpiece, c.1512-16, detail of 17677")
.jpg "Lavender Fields in Old Provence")
.jpg "Lake Thun with Symmetrical Reflection")
.jpg "Water Lilies, the Cloud, 1903")
_-_(MeisterDrucke-598039).jpg "Tiger, 1912")
.jpg "The Seasons: Spring, 1896")
.jpg "Off Connecticut, Newport, 1904")
.jpg "Composition VIII. Painting by Wassily Kandinsky (or Wassily Kandinski or Kandinskij, 1866-1944). 1915 Sun. 201x140 cm New York, Guggenheim Museum")
.jpg "Flowers in a Crystal Vase, c.1882")
.jpg "Carnival Evening")
.jpg "The Dream of the Fisherman")
.jpg "Animal Fable: Tiger and Snake in Combat in a Primeval Forest")
.jpg "Beach Study")

 +43 4257 29415
 support@meisterdrucke.com
 Mo-Do: 7:00 - 16:00 | Fr: 7:00 - 13:00