-
 ×
×
- Home
- Art Prints ▸
- Artists ▸
- Categories ▸
- Art Styles ▸
-
Picture Frame ▸
- All decorative frames
- Baroque decorative frames
- Simple decorative frames
- Rustic decorative frames
- Floating frames
- Golden decorative frames
- Silver decorative frames
- White decorative frames
- Black decorative frames
- Wood-look decorative frames
- Shabby chic decorative frames
- Thin decorative frames
- Thick decorative frames
-
Print Media ▸
- All print media
- Canvas Leonardo (satin)
- Canvas Salvador (matte)
- Canvas Raphael (matte)
- FineArt Photo Matte
- FineArt Photo Satin
- FineArt Photo Baryte
- FineArt Photo Glossy
- Watercolor Paper Munch
- Watercolor Paper Renoir
- Watercolor Paper Turner
- Watercolor Paper Dürer
- Natural Line Hemp
- Natural Line Rice
- Kozo White, 110g
- Kozo Natural, 110g
- Inbe White, 125g
- Unryu, 55g
- Bamboo, 110g
- Premio Unryu, 165g
- Murakumo Natural, 42g
- Bizan Natural, 300g
- Bizan White, 300g
- Aluminum composite 3mm
- Acrylic glass 5mm
- Order Sample Set
- Which print medium is right for you?
Canvas
Photo Paper
Watercolor Board
Natural Line
Japanese Paper
Special Media
More information
-
Help & Service ▸
- Contact us
- Sell your art
- Frequently Asked Questions
- Job Openings
- Complaint
- Order Samples
- Order Vouchers
- Shipping costs
- Production time
- Sustainability
- Image research
- Special requests
- Who are we?
- Pricing policy
- Company policy
- Quality promise
- Stretcher frame
- Mats
- Decorative frames
- Glazing
- Fillets
- Mounting systems
- Print media
- Care tips
- Legal Notice
- Terms & Conditions
- Privacy Policy
- Right of Cancellation
Info & Service
More information
Good to know
Legal information
- Shop ▸
- Contact





 View in 3D / AR
 Add to favorites
 Change wall color
 View picture in a room
.jpg "View of the Temple of Karnak, Egypt")
.jpg "Colossal statues of Temple of Amon, Theban Necropolis, Luxor, Egypt, New Kingdom, Dynasty XVIII")
.jpg "Sculptures of the deities, Horus temple, Edfu")
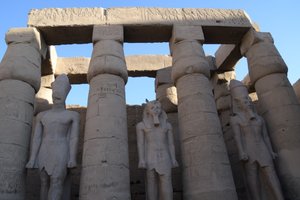
_and_papyrus-bud_columns_in_the_Peristyle_Cou_-_(MeisterDrucke-417399).jpg "Statues of Ramesses II and Papyrus-Bud Columns in the Peristyle Court, New Kingdom, c.1297-1185 BC")
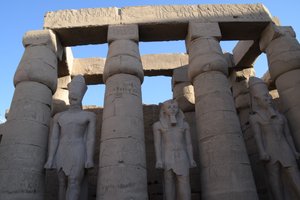
.jpg "The Temple of Queen Nefertari, also dedicated to Hathor of Abshek, and called the Little Temple, New Kingdom")
_(for_detail_-_(MeisterDrucke-1106991).jpg "Facade of the Temple of Queen Nefertari, New Kingdom, c.1250 BC")
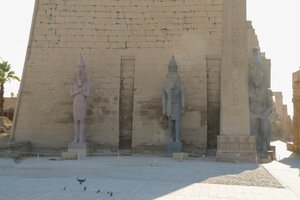
.jpg "Temple of Luxor, Pylon of Ramses II")
.jpg "Papyrus Columns with Bud Capitals in the Hypostyle Hall of the Temple of Amun, New Kingdom")
.jpg "The Colossus of Ramesses II: standing statue of the king with his daughter Benta anta in front of his legs, from the Great Temple of Amun, New Kingdom, c.1320-1200 BC")
.jpg "Peristyle Court")
.jpg "View of the Great Court, the entrance to the Hypostyle Hall and a statue of Ramesses II in the Temple of Amun")
.jpg "Ancient Thebes (UNESCO World Heritage List)")
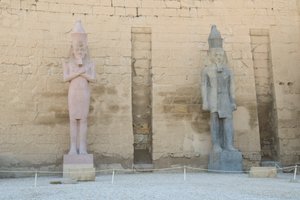
.jpg "Three statues of Rameses II, Luxor, Egypt")
.jpg "Facade and First Pylon with Two Seated Statues of Ramesses II and the Remaining Obelisk")
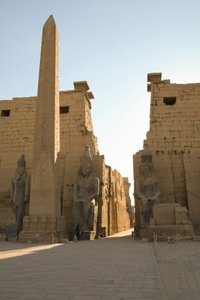
.jpg "Wall of Ramses II and the Temple of Tuthmosis")
.jpg "Columns with Papyrus Shafts and Lotus Capitals in the Great Hypostyle Hall, New Kingdom")
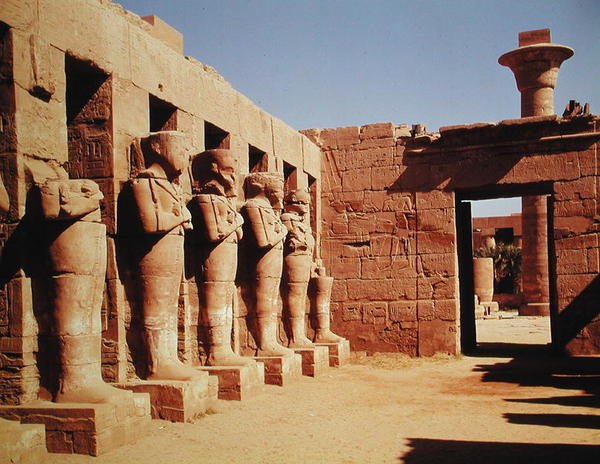
_flanking_the_walls_of_the_Second_C_-_(MeisterDrucke-420267).jpg "Osiride figures of Ramesses II flanking the walls of the Second Court, New Kingdom")
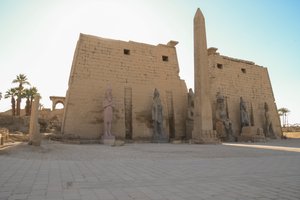
_in_front_of_pylon_Temple_of_Luxor_Fest_-_(MeisterDrucke-1489519).jpg "Colossal statue of Ramses II (the Great), in front of pylon, Temple of Luxor")
_and_the_Pylon_of_Amenophis_III_(1403-136_-_(MeisterDrucke-420862).jpg "Colosses of Ramesses II and the Pylon of Amenophis III, in the Peristyle Court")
.jpg "View of the First Pylon, New Kingdom")
_Late_Period_-_(MeisterDrucke-554327).jpg "Avenue of Sphinxes, added by Nectanebo I")
.jpg "Four colossal figures of the king, from the Temple of Ramesses II, New Kingdom, c.1279-1213 BC")
.jpg "Giant statue of Rameses II third king of the 19th dynasty, Luxor, Egypt, c1279-c1213 BC")
.jpg "Adoration of the Rising Sun in the Form of the Falcon Re-Horakhty, New Kingdom, c. 1150 BC (papyrus)")
.jpg "Inherkhau worshipping Sito, serpent God of the Underworld, from the Tomb of Inherkhau, Thebes (wall painting)")
.jpg "Egyptian Antiquity: Cartouche of Pharaoh Ramses III. Funerary Temple of Ramses III (1187-1156 BC). Luxor, Medinet Habu, Egypt")
_from_his_to_-_(MeisterDrucke-418447).jpg "Isis Pterophor, from the sarcophagus of Ramesses III (c. 11854-1153 BC) from his tomb in the Valley of the Kings, New Kingdom")
.jpg "Philistine prisoners being led away, from the Temple of Ramesses III (c.1184-1153 BC), New Kingdom")
.jpg "Egypt, Luxor, Ancient Thebes, Valley of Queens, Amonherkhopeshaf")
.jpg "The dead, their family and their servants, from the Tomb of Ankerkhe, Workmens Tombs, New Kingdom")
_(plural_ostraca_or_ostraka)_(pottery_s_-_(MeisterDrucke-1004462).jpg "Egyptian antiquity: ostrakon (or ostracon) (plural: ostraca or ostraka) (pottery shard used for notes, drawings...) representing a princess of the Ramesside period (19th-20th dynasty). 1100 BC. Turin, Egyptian Museum - Ancient Egypt: ostrakon (or ostracon)")
.jpg "Egypt, Thebes, Luxor, Valley of the Kings, Tomb of Prince Mentuherkhepeshef, mural painting of Cat-head goddess Bastet, 20th dynasty")
.jpg "The Sea People, Naval Battle of Ramses III, Medinet Habu, 1195-64 BC")
.jpg "Egypt, Thebes, Luxor, Valley of the Kings, Tomb of Prince Mentuherkhepeshef, mural painting of the cat-headed goddess Bastet, 20th Dynasty")
.jpg "Detail from the Book of the Day from the ceiling of the burial chamber of the Tomb of Ramesses VI (r. 1143-1136 BC), New Kingdom")
.jpg "Relief depicting Northern Prisoners at the Battle of Ramses III, Great Temple of Medinet")
.jpg "The Sea People, Naval Battle of Ramses III, Medinet Habu, 1195-64 BC")
_(m_-_(MeisterDrucke-416117).jpg "Re in the Night Boat, from the Tomb of Ramesses VI, New Kingdom, c.1145-1137 BC")
 (see also 279784 86) - (MeisterDrucke-86073).jpg "The Age of Bronze, after 1877 (bronze)")
_-_(MeisterDrucke-505640).jpg "Collar of Honour, Gold and Enamel, Presented to the Duke of Wellington (1769-1852), by George IV, c.1825")
_New_Kingdom_(gold_-_(MeisterDrucke-418024).jpg "Wedjet eye pectoral, from the tomb of Tutankhamun")
 (see also 71510 121795) - (MeisterDrucke-204074).jpg "Gudea, Prince of Lagash, statue dedicated to Ningizzada, Neo-Sumerian, from Telloh, ancient Girsu, c. 2130 BC")
 - (MeisterDrucke-55230).jpg "Tarcisius, Christian Martyr")
 - (MeisterDrucke-375240).jpg "Standard-bearer with ram-headed standard")
_-_(MeisterDrucke-421416).jpg "Jar and Cover Decorated with Kakiemon Enamels, c.1680")
 - (MeisterDrucke-207769).jpg "Satyr at Rest")
_-_(MeisterDrucke-444380).jpg "Richly Decorated Khong Mon")
.jpg "The Nativity, second panel of the North Doors of the Baptistery of San Giovanni, 1403-24")
 - (MeisterDrucke-324315).jpg "Lambeth Delftware posset pot, blue and white, c.1695")
 - (MeisterDrucke-54466).jpg "The Triumph of the Republic, 1879-99")
.jpg "Ceremonial Palette with a Reservoir for Grinding Eye Paint (detail)")
_-_(MeisterDrucke-328148).jpg "Dancer at Rest, 1892-95")
_-_(MeisterDrucke-519355).jpg "A pair of Devimahatmya manuscript covers")
.jpg "The Valencian Fishermen")
.jpg "View of Dresden by Moonlight")
.jpg "Three Sunflowers")
.jpg "Mars and Venus, Allegory of Peace")
.jpg "Malcesine on Lake Garda")
.jpg "Nighthawks")
.jpg "The Greifswald Market")
.jpg "The Geneva Window, eight panels depicting scenes from early Irish literature, 1929")
_-_Cosmic_Cliffs_in_the_Carina_Nebula_(NIRCam_Image)_-_(MeisterDrucke-1420928).jpg "Cosmic Cliffs in the Carina Nebula (NIRCam Image)")
.jpg "The Meurthe Boating Party")
.jpg "Colorful in the triangle")
.jpg "Noonday Heat")
.jpg "Landscape, The Parc Monceau")
.jpg "The Sailing Boat, Evening Effect, 1885")
_-_Pillars_of_Creation_(NIRCam_and_MIRI_Composite)_-_(MeisterDrucke-1429802).jpg "Pillars of Creation (NIRCam and MIRI Composite)")

 +43 4257 29415
 support@meisterdrucke.com
 Mo-Do: 7:00 - 16:00 | Fr: 7:00 - 13:00