support@meisterdrucke.com  ·  0043 4257 29415

Deutsch English Italiano Español Français Nederlands Português Svenska Polski Dansk
Search by artist, work title or style – e.g. Monet, Starry Night, Impressionism, Hokusai wave, nude. Describe the scene – e.g. green meadow, abstract with lots of red, dark oil painting, standing nude next to a tree.

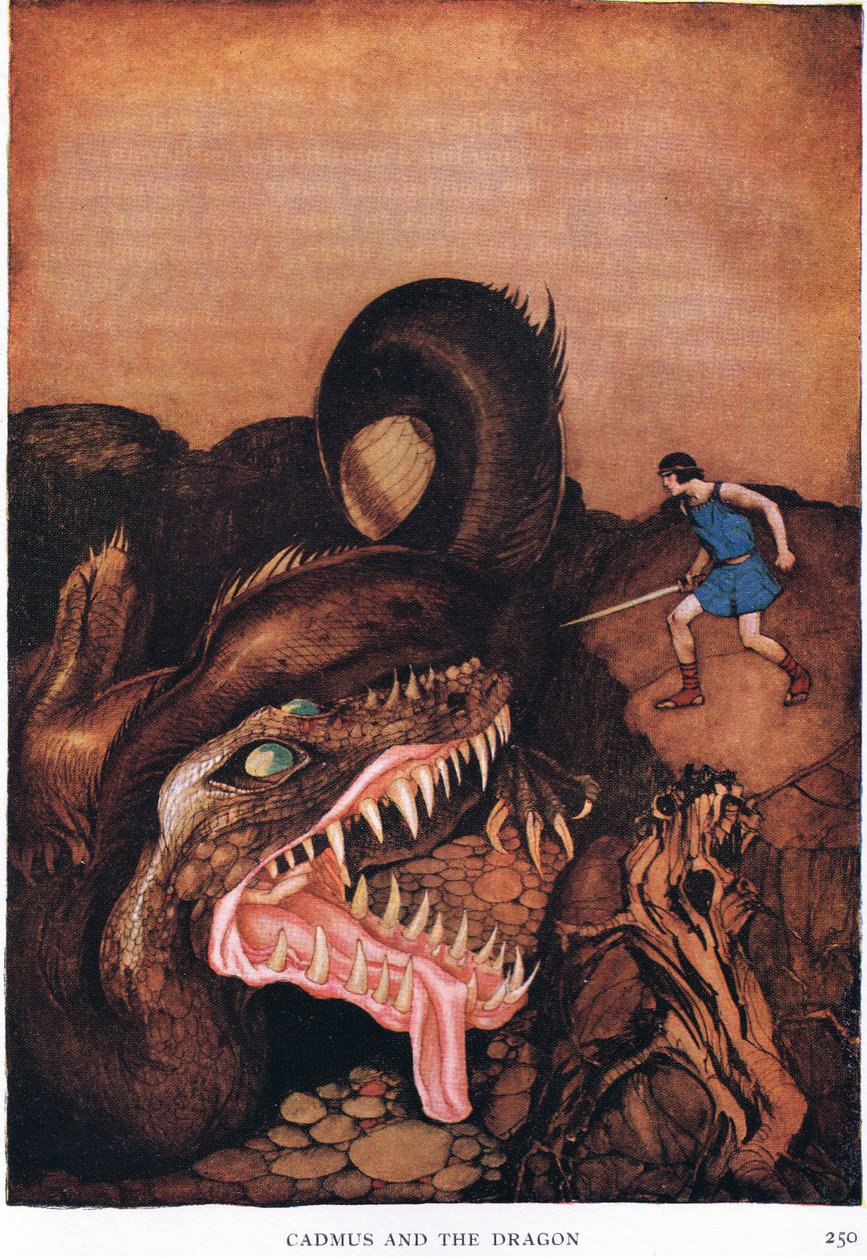
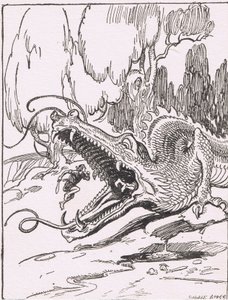
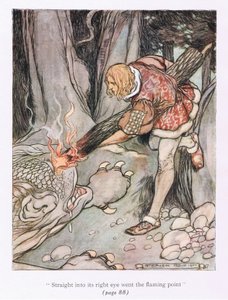
Cadmus and the Dragon by Stephen Reid

Cadmus and the Dragon

(Cadmus and the dragon)


Stephen Reid

€ 152.73
Includes 13.5% VAT
   Configure art print
1938  ·  colour lithograph  ·  Image ID: 1409386

Illustration

Cadmus and the Dragon by Stephen Reid. Available as an art print on canvas, photo paper, watercolor board, natural paper, or Japanese paper.
Private Collection / Bridgeman Images
AR/3D   View in 3D / AR zu Favoriten hinzufügen   Add to favorites    Change wall color    View picture in a room
0 Reviews

Configure art print

Picture Frame

Medium & Stretcher

Glass & Passepartout

Miscellaneous & Extras

 Save / compare configuration
Preview Icon

Summary

Gemälde
Veredelung
Keilrahmen
Museumslizenz

€ 152.73
(inkl. 20% MwSt)
   Add to cart

Bildschärfe: PERFEKT

If you'd like us to adjust the brightness, colors, or crop the image, we're happy to do this for you at no extra cost. Just get in touch!

Similar artworks selected for you

Siegfried and Fafner, 1906 ‘Thor went forth against Jormungand’, illustration from ‘The Heroes of Asgard, Tales from Scandinavian Mythology’, by A. and E. Keary, 1930 The Jabberwock, with eyes of flame, came whiffling through the Tulgey Wood, Alice Illustration of Franz Hoffmann Sigurd the Dragon Slayer Siegfried slaying the dragon Fafner The Three Suitors Hercules and Hydra Down from the heights of the air fell Perseus (Illustration for Down from the height of the air fell Perseus A Dragon Falling from the Sky, Illustration from the Hungarian Tale, Sigurd the Dragon Slayer, 1901 The Labors of Hercules: Hercules Kills the Hydra of Lerna Unknown Image I have come to fight you, Robber of my Beloved, scene from Sucna Murga in Children Queen of Snakes, Give me back my husband, illustration from The Olive Fairy Book by Andrew Laing, 1907 Couple Fighting a Dragon Hercules and Hydra - 1915 - Syntonos colours on canvas - Museum Villa Stuck Perseus and the Gorgons, illustration from St. George Jason putting dragon guarding Golden Fleece asleep The dragon sank towards him, opening its terrible jaws, from A Vampire in the Form of a Lizard Illustration from Les Chansons de Bilitis Thor and Hymir Fishing. Illustration for The Edda: Germanic Gods and Heroes by Hans von Wolzogen The Dragon’s Teeth: He Rushed at the Monster, and Flung Himself into Its Cavernous Mouth Ohe! Ohe! Terrible Dragon, Oh, Swallow Me Not! Illustration for The Rhinegold and The Valkyrie
Show more similar artworks

More art prints by Stephen Reid

Follow Me Now to the Hill of Allen They Rode Up to a Stately Palace, illustration from Representation of Barbary Pirates in the Mediterranean Sea in Henry Gilbert The Red Cross Knights in the Power of Saladin, illustration from ’Helmet & Cowl: Stories of Monastic and Military Orders’ by W. M. Letts and M. F. S. Letts Erik the Red, 950-1003/04, sets sail for Greenland, illustration from St Anthony in the Desert, illustration from Saint Francis preaching to the birds, illustration from Saint Jerome and the Lion They All Trooped Out, Lords and Ladies, to View the Wee Man Macha curses the Men of Ulster, illustration from ’Cuchulain, The Hound of Ulster’, by Eleanor Hull (1860-1935) Cuchalain slays the Hound of Culain, illustration from Saint Giovanni Gualberto and the Murderer, illustration from Straight into Its Right Eye Went the Flaming Point St Anthony and the Satyr, Illustration from Representation of Barbaresque Pirates in the Mediterranean Sea
Show more works by Stephen Reid

A selection of our top sellers

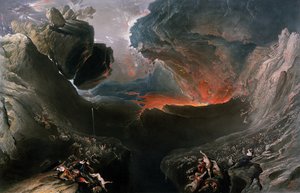
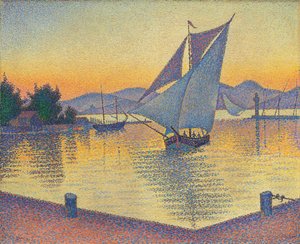
Mona Lisa Little Heath Princess. 1889 Will He Come Back?, c.1918 Roaring Stag in the Mountains The Goldfish Reclining Nude Woman Reading a Book School of Athens, from the Stanza della Segnatura, 1510-11 Houses in Munich, 1908 Ophelia Saint Jerome in His Study A Coign of Vantage, 1895 Group IX/SUW, No. 1, The Swan, No. 1, 1914-1915 The Great Day of His Wrath, engraved by Charles Mottram (1807-76), published by Thomas McLean, London in 1857 Le Port au soleil couchant, Opus 236 The Waterlily Pond, 1904
Show more artworks


What our customers think about us


Frequently Asked Questions about Meisterdrucke


Personalizing your art print at Meisterdrucke is simple and intuitive: Choose a frame, set the image size, pick a printing medium, and add suitable glazing or a stretcher frame. We also offer additional customization options like mats, fillets, and spacers. If you have any questions, our customer service team is ready to help you create your perfect artwork.

At Meisterdrucke, you can visualize your configured artwork directly in your own room. Simply upload a photo of your space and see how the artwork looks in it. If you're visiting us on a mobile device — phone or tablet — our augmented reality feature brings the picture to life and projects it right into your room. A unique experience that combines art and technology.

Choosing the right medium is often a matter of personal taste. To give you a better idea, we've provided some images for each medium. We also offer a sample set of all paper variants, so you can decide not just visually but by touch as well. You can order the sample set free of charge — only shipping costs apply.

Don't worry! At Meisterdrucke, we don't just process orders mechanically. Every order is manually reviewed by our team. If we spot any inconsistencies or issues with your configuration, we'll get in touch with you right away. And of course, our friendly and patient support team is always here to help you with your configuration. We'll work with you by phone or email to adjust your image so the final result is exactly what you had in mind.


Still have questions?

Are you interested in an art print from our manufactory but still unsure? Do you need advice on choosing the medium or help with the order?

Our experts are happy to assist you.

+43 4257 29415
support@meisterdrucke.com

Mo-Do: 7:00 - 16:00 | Fr: 7:00 - 13:00

Still have questions?

Are you interested in an art print from our manufactory but still unsure? Do you need advice on choosing the medium or help with the order?

Our experts are happy to assist you.

+43 4257 29415
support@meisterdrucke.com
Mo-Do: 7:00 - 16:00 | Fr: 7:00 - 13:00


Meisterdrucke

   Kärntner Strasse 46
        9586 Finkenstein am Faaker See
        Austria
        +43 4257 29415
        support@meisterdrucke.com
Other languages

                   
Erfahrungen & Bewertungen zu Meisterdrucke
Post.at DHL Express Quehenberger Cargoboard
Kaiser Franz Joseph

Meisterdrucke
Kärntner Strasse 46
9586 Finkenstein am Faaker See · Austria
+43 4257 29415 · support@meisterdrucke.com
Post.at DHL Express Quehenberger Cargoboard


(c) 2026 meisterdrucke.ie