-
 ×
× - Home
- Art Prints ▸
- Artists ▸
- Categories ▸
- Art Styles ▸
- Picture Frame ▸
- All decorative frames
- Baroque decorative frames
- Simple decorative frames
- Rustic decorative frames
- Floating frames
- Golden decorative frames
- Silver decorative frames
- White decorative frames
- Black decorative frames
- Wood-look decorative frames
- Shabby chic decorative frames
- Thin decorative frames
- Thick decorative frames
- Print Media ▸
- All print media
- Canvas Leonardo (satin)
- Canvas Salvador (matte)
- Canvas Raphael (matte)
- FineArt Photo Matte
- FineArt Photo Satin
- FineArt Photo Baryte
- FineArt Photo Glossy
- Watercolor Paper Munch
- Watercolor Paper Renoir
- Watercolor Paper Turner
- Watercolor Paper Dürer
- Natural Line Hemp
- Natural Line Rice
- Kozo White, 110g
- Kozo Natural, 110g
- Inbe White, 125g
- Unryu, 55g
- Bamboo, 110g
- Premio Unryu, 165g
- Murakumo Natural, 42g
- Bizan Natural, 300g
- Bizan White, 300g
- Aluminum composite 3mm
- Acrylic glass 5mm
- Order Sample Set
- Which print medium is right for you?
Canvas
Photo Paper
Watercolor Board
Natural Line
Japanese Paper
Special Media
More information
- Help & Service ▸
- Contact us
- Sell your art
- Frequently Asked Questions
- Job Openings
- Complaint
- Order Samples
- Order Vouchers
- Shipping costs
- Production time
- Sustainability
- Image research
- Special requests
- Who are we?
- Pricing policy
- Company policy
- Quality promise
- Awards
- Stretcher frame
- Mats
- Decorative frames
- Glazing
- Fillets
- Mounting systems
- Print media
- Care tips
- Legal Notice
- Terms & Conditions
- Privacy Policy
- Right of Cancellation
Info & Service
More information
Good to know
Legal information
- Shop ▸
- Contact





 View in 3D / AR
 Add to favorites
 Change wall color
 View picture in a room
.jpg "Lord Methuen Rallying His Broken Forces at Tweebosch")
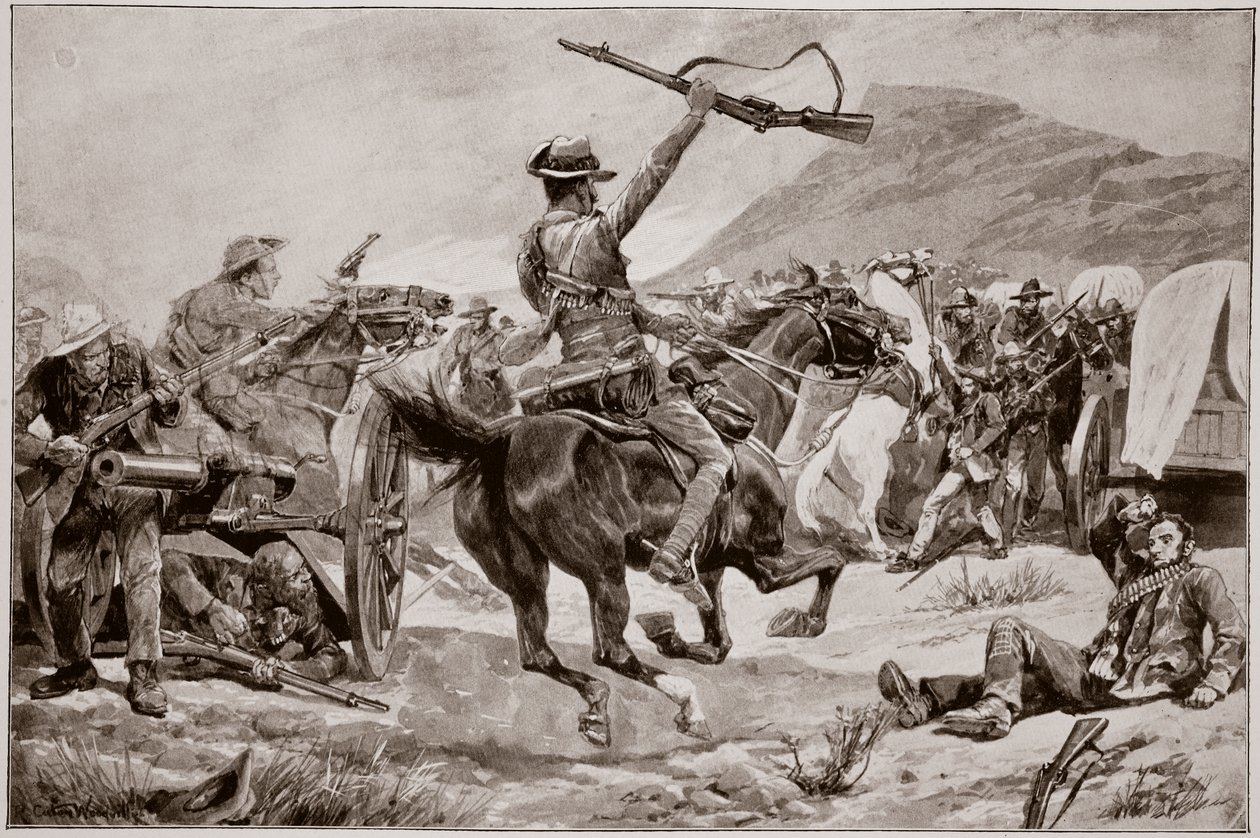
.jpg "On the Heels of De Wet: Mounted Infantry Attacking a Waggon Train, illustration from")
.jpg "Field Artillery Coming into Action, Illustration from")
.jpg "Lord Methuen Rallying His Broken Forces at Tweebosch")
_-_(MeisterDrucke-981677).jpg "Field artillery coming into action")
.jpg "Battle of Blood River, Second Boer War, 17 September 1901")
.jpg "De Wet")
.jpg "Gold Escort Attacked by Bushrangers, Australia, 1879")
.jpg "Yeomanry Attacking De Wet")
.jpg "Lord Roberts and Staff on the Veldt Approaching Pretoria")
.jpg "The Ambuscade at Koorn Spruit, illustration from")
.jpg "The Mishap to the Victorians at Wilmansrust, June 12, 1901")
.jpg "The Dash for Kimberley - The 10th Hussars Crossing Klip Drift, after a sketch by G.D. Giles")
.jpg "Night Sortie and Attack on Baggage Waggons, from")
.jpg "The capture of Field-Cornet Swanepool (illustration from After Pretoria: The Guerilla War, 1902)")
.jpg "Jemadar Ram-Karan leading his troop under heavy rifle fire against the enemy who were retiring")
.jpg "Major Boole-Smith Tackles De Wet, from After Pretoria: The Guerilla War")
.jpg "The Surrender of Prinsloo")
.jpg "Battle of Aughrim")
.jpg "The capture of the bodyguard: Lieut Bateman")
.jpg "The night charge of the 19th Hussars near Lydenberg on 7th November, 1900")
.jpg "Lord Roberts Cheered by the Troops on His Arrival at Wonder River")
.jpg "Battle of Aughrim, July 12th 1691")
.jpg "A picket of 13th Hussars surprised near the Tugela River, Hussar Hill, KwaZulu-Natal Province during the second Boer War, from")
.jpg "Halt")
.jpg "Thackwell at Sobraon, illustration from Cassell")
.jpg "Norman Ramsay at Fuentes de Onoro, 5th May 1811, illustration from")
.jpg "Running the gauntlet: a Lancer Patrol under cross fire, illustration from")
.jpg "Charge of the Dragoons at Talavera, illustration from")
.jpg "Charge of the Light Brigade, Balaclava, 25 October 1854")
.jpg "The Battle of the Somme")
 - (MeisterDrucke-77590).jpg "Battle of Balaclava, 25th October 1854, Relief of the Light Brigade")
.jpg "The First Charge at Hastings: Taillefer the Minstrel Sword-Juggler Rode from the Ranks Singing and Tossing His Sword in the Air, 1066, illustration from “Hutchinson")
_Last_Stand_illustration_from_British_Battles_on_Land_and_Sea_-_(MeisterDrucke-249109).jpg "Harold")
.jpg "Charge of the 21st Lancers at Omdurman, 2nd September 1898")
.jpg "Henry VI is delivered to Edward IV at St. Paul")
.jpg "The coronation of Edward II AD 1308, 1920")
.jpg "The Battle of Quebec, 1759, Illustration from")
.jpg "Carrying Sir John Moore from the Battlefield, illustration from British Battles on Land and Sea, published by Cassell, London, c. 1910")
.jpg "The murder of the Duke of Burgundy, AD1419, 1920s")
.jpg "The Battle of Poitiers, 19th September 1356, illustration from")
.jpg "Malchy felling the Munster Coronation Tree, 1920")
.jpg "Charge of the 23rd Dragoons against the French Squares at Talavera, illustration from")
.jpg "The punishment of a fraudulent baker, illustration from")
.jpg "The Magpie")
.jpg "Boys Bathing, 1912")
.jpg "The Bathing Pool")
.jpg "Avenue near Arles with Houses")
.jpg "The Bookworm")
.jpg "View of Venice: The Ducal Palace, Dogana and Part of San Giorgio, 1841")
.jpg "Salvator Mundi")
.jpg "The Incredulity of St. Thomas, 1602-03")
.jpg "Pine Trees")
.jpg "Via Appia")
.jpg "The Four Horsemen of the Apocalypse, ca. 1498")
.jpg "The Fighting Temeraire, 1839")
.jpg "Starry Night, c. 1850-65")
.jpg "Portrait of a young woman, 1896-97")
 - (MeisterDrucke-56929).jpg "The Temptation of St. Anthony, right-hand panel, detail of a couple riding a fish")

 +43 4257 29415
 support@meisterdrucke.com
 Mo-Do: 7:00 - 16:00 | Fr: 7:00 - 13:00