-
 ×
×
- Home
- Art Prints ▸
- Artists ▸
- Categories ▸
- Art Styles ▸
-
Picture Frame ▸
- All decorative frames
- Baroque decorative frames
- Simple decorative frames
- Rustic decorative frames
- Floating frames
- Golden decorative frames
- Silver decorative frames
- White decorative frames
- Black decorative frames
- Wood-look decorative frames
- Shabby chic decorative frames
- Thin decorative frames
- Thick decorative frames
-
Print Media ▸
- All print media
- Canvas Leonardo (satin)
- Canvas Salvador (matte)
- Canvas Raphael (matte)
- FineArt Photo Matte
- FineArt Photo Satin
- FineArt Photo Baryte
- FineArt Photo Glossy
- Watercolor Paper Munch
- Watercolor Paper Renoir
- Watercolor Paper Turner
- Watercolor Paper Dürer
- Natural Line Hemp
- Natural Line Rice
- Kozo White, 110g
- Kozo Natural, 110g
- Inbe White, 125g
- Unryu, 55g
- Bamboo, 110g
- Premio Unryu, 165g
- Murakumo Natural, 42g
- Bizan Natural, 300g
- Bizan White, 300g
- Aluminum composite 3mm
- Acrylic glass 5mm
- Order Sample Set
- Which print medium is right for you?
Canvas
Photo Paper
Watercolor Board
Natural Line
Japanese Paper
Special Media
More information
-
Help & Service ▸
- Contact us
- Sell your art
- Frequently Asked Questions
- Job Openings
- Complaint
- Order Samples
- Order Vouchers
- Shipping costs
- Production time
- Sustainability
- Image research
- Special requests
- Who are we?
- Pricing policy
- Company policy
- Quality promise
- Stretcher frame
- Mats
- Decorative frames
- Glazing
- Fillets
- Mounting systems
- Print media
- Care tips
- Legal Notice
- Terms & Conditions
- Privacy Policy
- Right of Cancellation
Info & Service
More information
Good to know
Legal information
- Shop ▸
- Contact
")
_Price_-_She_loved_me_for_the_dangers_that_had_passed_Othello_Act_I_Scene_3_illustration_-_(MeisterDrucke-1412540).jpg)
_-_(MeisterDrucke-1402026).jpg)
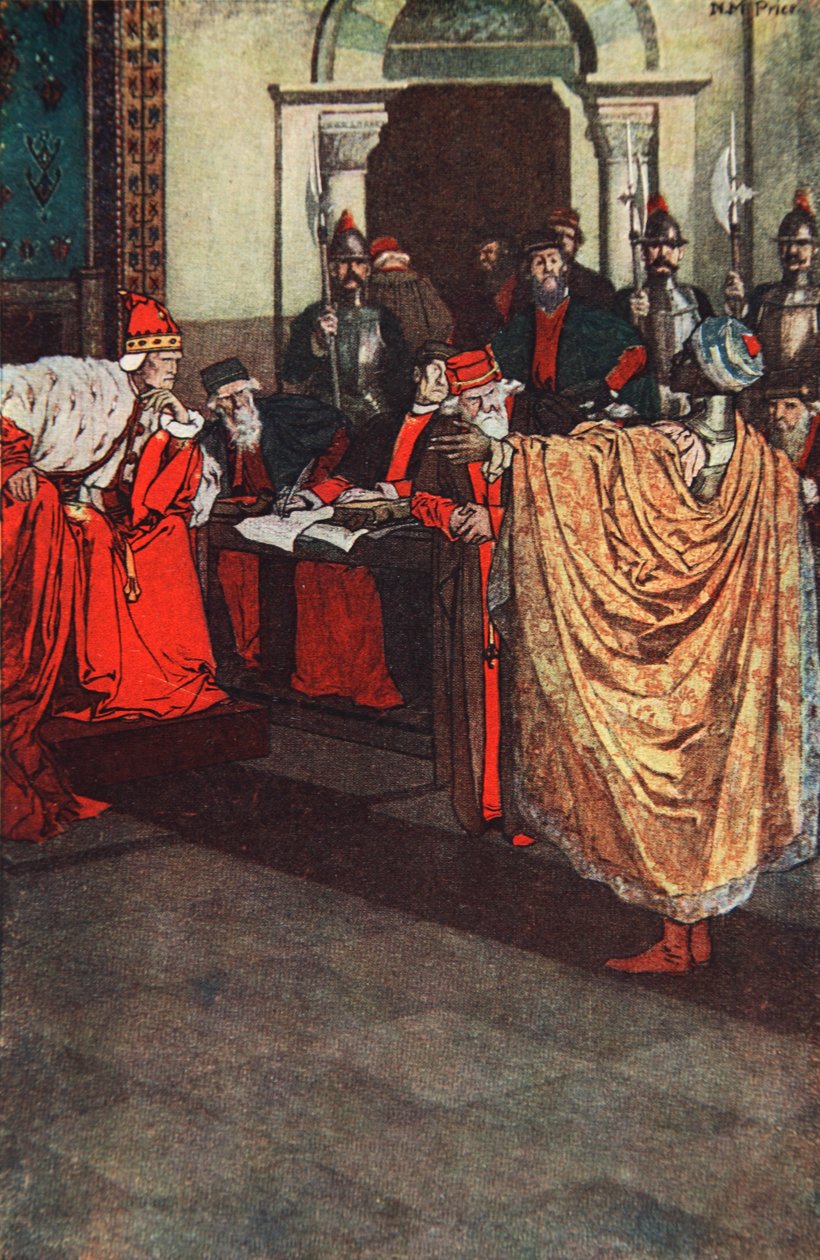
.jpg "Cosimo de Medici, Grand Duke of Tuscany, Defending Against Accusation of His Enemies")
.jpg "The Merchant of Venice")
.jpg "Richard II abdicates")
.jpg "Richard II Abdicates, 1399, c1850")
_king_of_France_deposited_by_-_(MeisterDrucke-922653).jpg "Assembly of Worms: Deposition of Louis I the Debonnaire by his Sons")
_gave_the_postage_charters_of_the_communes_Chrom_-_(MeisterDrucke-1061347).jpg "Louis VI dit Le Gros gave the postage charters of the communes")
_from_Tales_-_(MeisterDrucke-1022723).jpg "\"Give me my money and let me go,\" said Shylock (The Merchant of Venice), from Tales from Shakespeare pub. by Ward Lock & Co Ltd")
_in_1399_in_favour_of_his_co_-_(MeisterDrucke-1061232).jpg "Abdication of King Richard II of England in 1399 in favour of his cousin Henry (Henry IV of England)")
.jpg "Barbarossa Pleads for Help from Henry the Lion")
.jpg "The King pays court to the English leaders, c1066")
_King_of_France_leaving_for_the_3rd_crusade_wit_-_(MeisterDrucke-1004175).jpg "Louis VII the Young (1120 - 1180), King of France, leaving for the 3rd crusade with Alienor d")
_(_Magna_Cart_-_(MeisterDrucke-1024754).jpg "Signature of the")
.jpg "The page presents his prisoner")
.jpg "Edward I of England acknowledged as suzerain of Scotland, 1290, 1864")
.jpg "Bayard presented to Henry VIII, illustration from")
 granting a charter to the City of London i - (MeisterDrucke-307574).jpg "William granting a charter to the City of London")
.jpg)
_c1900_-_(MeisterDrucke-426005).jpg "Postcard with a scene from Tannhauser by Richard Wagner")
.jpg "Edward acknowledged as suzerain of Scotland, 1290, from A Chronicle of England BC 55 to AD 1485, pub. London, 1863")
.jpg "Jocelyn, Bishop of Glasgow, at Northampton, 1176, Illustration from")
.jpg "William I, the Conqueror, King of England, c1067 19th century")
.jpg "The Page Presents His Prisoner, Illustration from")
_1938_-_(MeisterDrucke-393461).jpg "Bayard presented to the king of England (Henry VIII)")
.jpg "Lord Thomas Fitzgerald throws down his sword, illustration from")
.jpg "King John of England signs the Magna Carta, from Pictures of English History, 1868")
_Engraving_-_(MeisterDrucke-1022290).jpg "Charlemagne Dictating His Capitulars to His Minister Alcuin")
.jpg "Shylock speaks in The Merchant of Venice, Act IV, Scene I,")
.jpg "William granting a charter to the City of London, illustration from")
_Price_-_Barefooted_came_the_Beggar-Maid_before_the_King_Cophetua_illustration_from_The_C_-_(MeisterDrucke-1410323).jpg "Barefooted came the Beggar-Maid before the King Cophetua, illustration from")
_Price_-_Geraint_had_never_seen_so_fair_and_sweet_a_lady_illustration_from_The_Childrens_-_(MeisterDrucke-1413235).jpg "Geraint Had Never Seen So Fair and Sweet a Lady, Illustration from")
_Price_-_The_Lily-white_Doe_leaped_up_and_laid_her_head_in_the_Maidens_hand_illustration_-_(MeisterDrucke-1404963).jpg "The Lily-white Doe Leaped Up and Laid Her Head in the Maiden")
_Price_-_Cordelia_Cordelia_King_Lear_Act_V_Scene_3_illustration_from_Tales_from_Shakespea_-_(MeisterDrucke-1408930).jpg)
_Price_-_Romeo_and_Juliet_Act_V_Scene_3_illustration_from_Tales_from_Shakespeare_by_Charl_-_(MeisterDrucke-1425336).jpg "Romeo and Juliet, Act V Scene 3, illustration from")
_Price_-_I_dare_thee_but_to_breathe_upon_my_love_Two_Gentlemen_of_Verona_Act_V_Scene_4_il_-_(MeisterDrucke-1408932).jpg)
_Price_-_The_Gentle_Katherine_The_Taming_of_the_Shrew_Act_II_Scene_1_illustration_from_Ta_-_(MeisterDrucke-1400276).jpg "The Gentle Katherine, The Taming of the Shrew, Act II Scene 1, illustration from")
_Price_-_He_felt_her_tears_upon_his_hand_illustration_from_The_Childrens_Tennyson_Stories_-_(MeisterDrucke-1400044).jpg "He felt her tears upon his hand, illustration from")
_Price_-_Titania_sleeps_Midsummer_Nights_Dream_Act_II_Scene_2_illustration_from_Tales_fro_-_(MeisterDrucke-1403505).jpg "Titania sleeps, Midsummer Nights Dream, Act II Scene 2, illustration from")
_Price_-_Imogens_Bed_Chamber_Cymbeline_Act_II_Scene_2_illustration_from_Tales_from_Shakes_-_(MeisterDrucke-1408931).jpg "Imogen")
_Price_-_The_Weird_Sisters_Macbeth_Act_IV_Scene_1_illustration_from_Tales_from_Shakespear_-_(MeisterDrucke-1403506).jpg "The Weird Sisters, Macbeth, Act IV Scene 1, illustration from")
_Price_-_The_Feast_vanished_away_The_Tempest_Act_III_Scene_3_illustration_from_Tales_from_-_(MeisterDrucke-1400277).jpg "The Feast Vanished Away, The Tempest Act III, Scene 3, Illustration from")
_Price_-_Isabels_pleading_Measure_for_Measure_Act_II_Scene_2_illustration_from_Tales_from_-_(MeisterDrucke-1412542).jpg "Isabel")
_Price_-_Give_me_some_light_Away_Hamlet_Prince_of_Denmark_Act_III_Scene_2_illustration_fr_-_(MeisterDrucke-1425758).jpg)
.jpg "Woman in Tehuantepec, Mexico")
.jpg "The Butterfly Hunter")
.jpg "The Hunt")
.jpg "Summer Afternoon")
.jpg "Portrait of the philosopher and esotericist Rudolf Steiner")
.jpg "The Songs of the Night")
.jpg "Little Oak Tree")
.jpg "The Eruption of the Soufriere Mountains in the Island of St. Vincent, 30th April 1812")
.jpg "Narcissus")
 - (MeisterDrucke-62585).jpg "The Great Piece of Turf")
.jpg "Appian Way")
.jpg "Mona Lisa")
.jpg "Nocturne in Black and Gold, the Falling Rocket")
.jpg "Meadows near Greifswald")
.jpg "Vitruvian Man")


