-
 ×
×
- Home
- Art Prints ▸
- Artists ▸
- Categories ▸
- Art Styles ▸
-
Picture Frame ▸
- All decorative frames
- Baroque decorative frames
- Simple decorative frames
- Rustic decorative frames
- Floating frames
- Golden decorative frames
- Silver decorative frames
- White decorative frames
- Black decorative frames
- Wood-look decorative frames
- Shabby chic decorative frames
- Thin decorative frames
- Thick decorative frames
-
Print Media ▸
- All print media
- Canvas Leonardo (satin)
- Canvas Salvador (matte)
- Canvas Raphael (matte)
- FineArt Photo Matte
- FineArt Photo Satin
- FineArt Photo Baryte
- FineArt Photo Glossy
- Watercolor Paper Munch
- Watercolor Paper Renoir
- Watercolor Paper Turner
- Watercolor Paper Dürer
- Natural Line Hemp
- Natural Line Rice
- Kozo White, 110g
- Kozo Natural, 110g
- Inbe White, 125g
- Unryu, 55g
- Bamboo, 110g
- Premio Unryu, 165g
- Murakumo Natural, 42g
- Bizan Natural, 300g
- Bizan White, 300g
- Aluminum composite 3mm
- Acrylic glass 5mm
- Order Sample Set
- Which print medium is right for you?
Canvas
Photo Paper
Watercolor Board
Natural Line
Japanese Paper
Special Media
More information
-
Help & Service ▸
- Contact us
- Sell your art
- Frequently Asked Questions
- Job Openings
- Complaint
- Order Samples
- Order Vouchers
- Shipping costs
- Production time
- Sustainability
- Image research
- Special requests
- Who are we?
- Pricing policy
- Company policy
- Quality promise
- Stretcher frame
- Mats
- Decorative frames
- Glazing
- Fillets
- Mounting systems
- Print media
- Care tips
- Legal Notice
- Terms & Conditions
- Privacy Policy
- Right of Cancellation
Info & Service
More information
Good to know
Legal information
- Shop ▸
- Contact





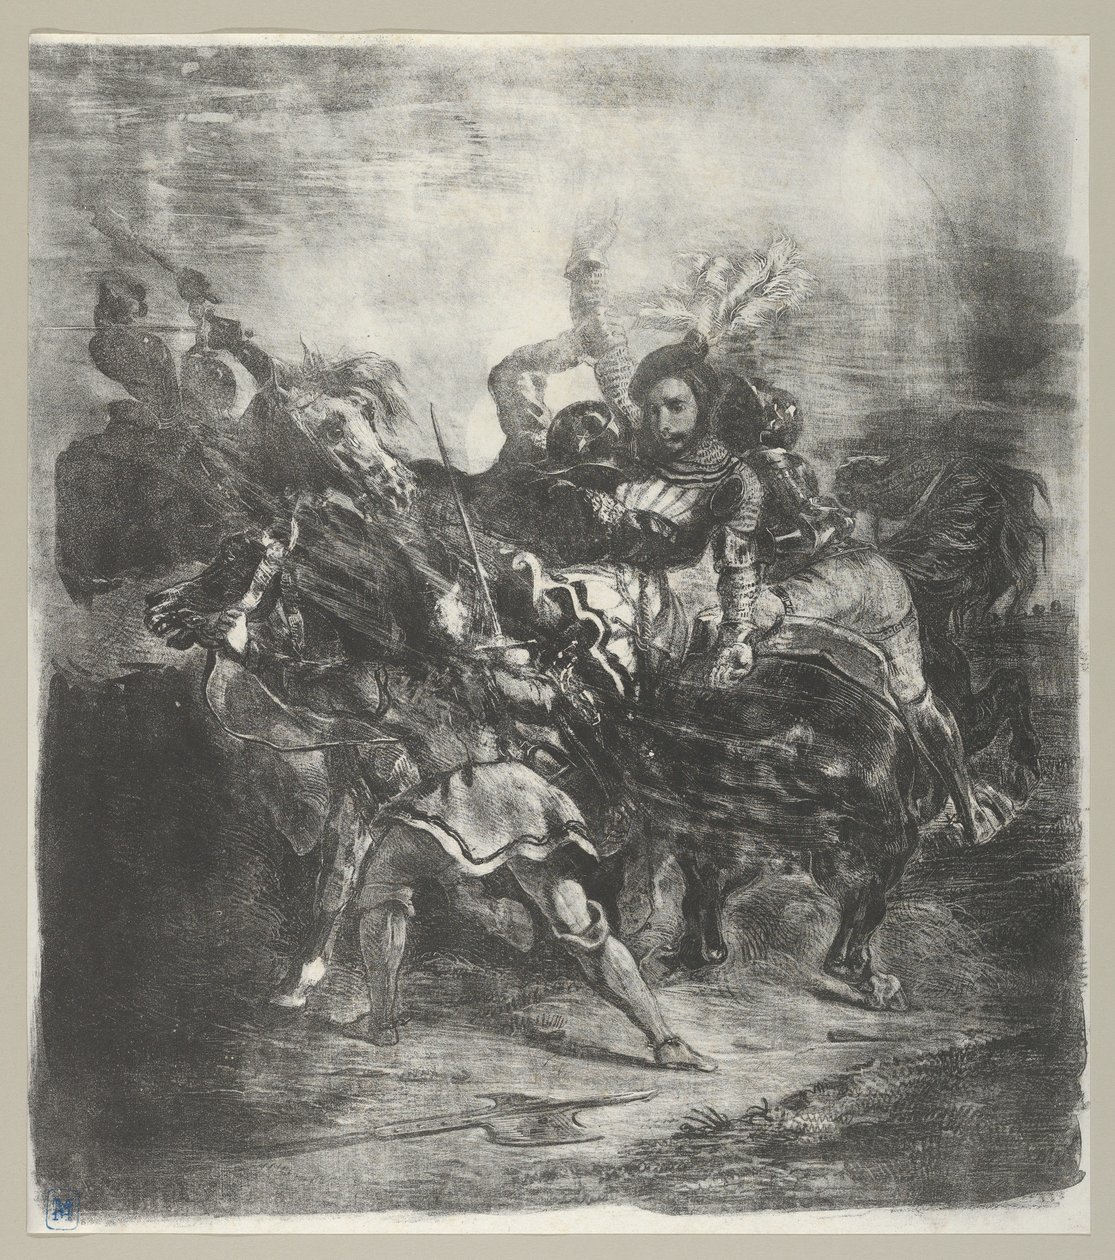
.jpg)
.jpg)
.jpg)
 View in 3D / AR
 Add to favorites
 Change wall color
 View picture in a room
.jpg "Weislingen Attacked by Goetz")
.jpg "A Horseman Shooting a Turk from His Horse")
.jpg "Janissaries in Battle")
.jpg "On this proud enemy BOURBON rushes...")
.jpg "They Do Not Agree, Plate 17 from The Disasters of War")
_Orlowski_-_Battle_between_the_Georgians_and_the_Mountain_Tribes_-_(MeisterDrucke-890346).jpg "Battle between the Georgians and the Mountain Tribes")
Lan_-_(MeisterDrucke-1378216).jpg "Battle: The Month of August and the Element of Fire (Landscapes with the Months, Elements, and Seasons)")
.jpg "Sir William Russell at the Battle of Zutphen, 1586")
.jpg "Rudolph of Hapsburg")
.jpg "Two Fighting Horsemen")
.jpg "Battle Scene - Death of a Turk")
.jpg "Battle Between Horsemen and Foot Soldiers")
.jpg "This Brilliant Plume That Floats Above My Head")
_pl_17_from_the_series_Los_desastres_de_la_gu_-_(MeisterDrucke-1347267).jpg "They Do Not Agree, Plate 17 from the Series The Disasters of War")
.jpg "Cuirassiers Charging")
.jpg "Charles Martel at Tours")
.jpg "Old Italian Masters")
.jpg "Mamluk Defending a Wounded Trumpeter")
.jpg "Mamluk Defending a Wounded Trumpeter")
.jpg "Combat of the Giaour and the Pasha")
.jpg "Sheet 2 from \"Brandenburg War Scenes\"")
_-_(MeisterDrucke-1570672).jpg "The Battle of Four Horsemen (Battle of Anghiari)")
_-_(MeisterDrucke-1369558).jpg "Cavalry Battle")
_Plate_17_from_Los_desastres_de_la_guerra_(Th_-_(MeisterDrucke-1334522).jpg "They Do Not Agree, Plate 17 from The Disasters of War")
_(series_title)_-_(MeisterDrucke-1375447).jpg "Fighting Soldiers (series 3) (series title)")
_-_(MeisterDrucke-1370072).jpg "Battle Between Armored Riders")
_-_(MeisterDrucke-1363638).jpg "Battlefield Scene")
.jpg "The Combat of the Giaour and Hassan, 1826")
_-_(MeisterDrucke-1254739).jpg "Jewish Woman of Algiers and a Street in Algiers")
.jpg "Flower Still Life")
.jpg "Tiger")
.jpg "The Vampire, 1852")
_Sketch_of_Upper_Arm_(verso)_-_(MeisterDrucke-1286076).jpg "Standing Academic Male Nude (recto); Sketch of Upper Arm (verso)")
.jpg "The Death of Ophelia, 1853")
_-_(MeisterDrucke-1246496).jpg "Players Enacting the Poisoning of Hamlet")
.jpg "Tam O")
_-_(MeisterDrucke-1257151).jpg "The Murder of Polonius (Act III, Scene IV)")
.jpg "Women of Algiers, 1833")
_-_(MeisterDrucke-1303623).jpg "Illustration for Hamlet: Hamlet and the Queen (III,4)")
.jpg "Saint Mary Magdalene in the Desert, 1845")
_-_(MeisterDrucke-1300757).jpg "Illustration to Hamlet. The Queen Tries to Cheer Hamlet (I,2)")
_-_(MeisterDrucke-1261118).jpg "Illustration for Hamlet: The Players Represent the Death of Hamlet")
.jpg "Fishing Boats on the Beach at Les Saintes-Maries-de-la-Mer")
.jpg "Mother of the World, 1924")
.jpg "The Mountain Mowers, First Version")
.jpg "Impression: Sunrise, 1872")
.jpg "Bridge in Monet")
.jpg "Spring in the Environs of Paris, Apple Blossom, 1879")
.jpg "The Japanese Bridge")
.jpg "Portrait presumed to be Johann Sebastian Bach, 1717-23")
.jpg "Portrait of Joan of Arc with flag and lilies against the background of Notre-Dame Cathedral")
.jpg "The Jack Pine, 1917. 1925")
.jpg "The sleeping Jesus, or Madonna holding the sleeping Child, accompanied by three angels, 1532")
.jpg "Landscape on Saint-Martin Island, 1881")
.jpg "Luncheon of the Boating Party")
.jpg "The Gull")
.jpg "Attersee")

 +43 4257 29415
 support@meisterdrucke.com
 Mo-Do: 7:00 - 16:00 | Fr: 7:00 - 13:00