-
 ×
× - Home
- Art Prints ▸
- Artists ▸
- Categories ▸
- Art Styles ▸
- Picture Frame ▸
- All decorative frames
- Baroque decorative frames
- Simple decorative frames
- Rustic decorative frames
- Floating frames
- Golden decorative frames
- Silver decorative frames
- White decorative frames
- Black decorative frames
- Wood-look decorative frames
- Shabby chic decorative frames
- Thin decorative frames
- Thick decorative frames
- Print Media ▸
- All print media
- Canvas Leonardo (satin)
- Canvas Salvador (matte)
- Canvas Raphael (matte)
- FineArt Photo Matte
- FineArt Photo Satin
- FineArt Photo Baryte
- FineArt Photo Glossy
- Watercolor Paper Munch
- Watercolor Paper Renoir
- Watercolor Paper Turner
- Watercolor Paper Dürer
- Natural Line Hemp
- Natural Line Rice
- Kozo White, 110g
- Kozo Natural, 110g
- Inbe White, 125g
- Unryu, 55g
- Bamboo, 110g
- Premio Unryu, 165g
- Murakumo Natural, 42g
- Bizan Natural, 300g
- Bizan White, 300g
- Aluminum composite 3mm
- Acrylic glass 5mm
- Order Sample Set
- Which print medium is right for you?
Canvas
Photo Paper
Watercolor Board
Natural Line
Japanese Paper
Special Media
More information
- Help & Service ▸
- Contact us
- Sell your art
- Frequently Asked Questions
- Job Openings
- Complaint
- Order Samples
- Order Vouchers
- Shipping costs
- Production time
- Sustainability
- Image research
- Special requests
- Who are we?
- Pricing policy
- Company policy
- Quality promise
- Awards
- Stretcher frame
- Mats
- Decorative frames
- Glazing
- Fillets
- Mounting systems
- Print media
- Care tips
- Legal Notice
- Terms & Conditions
- Privacy Policy
- Right of Cancellation
Info & Service
More information
Good to know
Legal information
- Shop ▸
- Contact





 View in 3D / AR
 Add to favorites
 Change wall color
 View picture in a room
_(wood_pigmen_-_(MeisterDrucke-424600).jpg "Large seated bodhisattva with hands raised, Jin dynasty (1115-1234) (detail)")
_(wood_pigment)_(_-_(MeisterDrucke-424598).jpg "Large seated bodhisattva in meditation, Jin dynasty (1115-1234)")
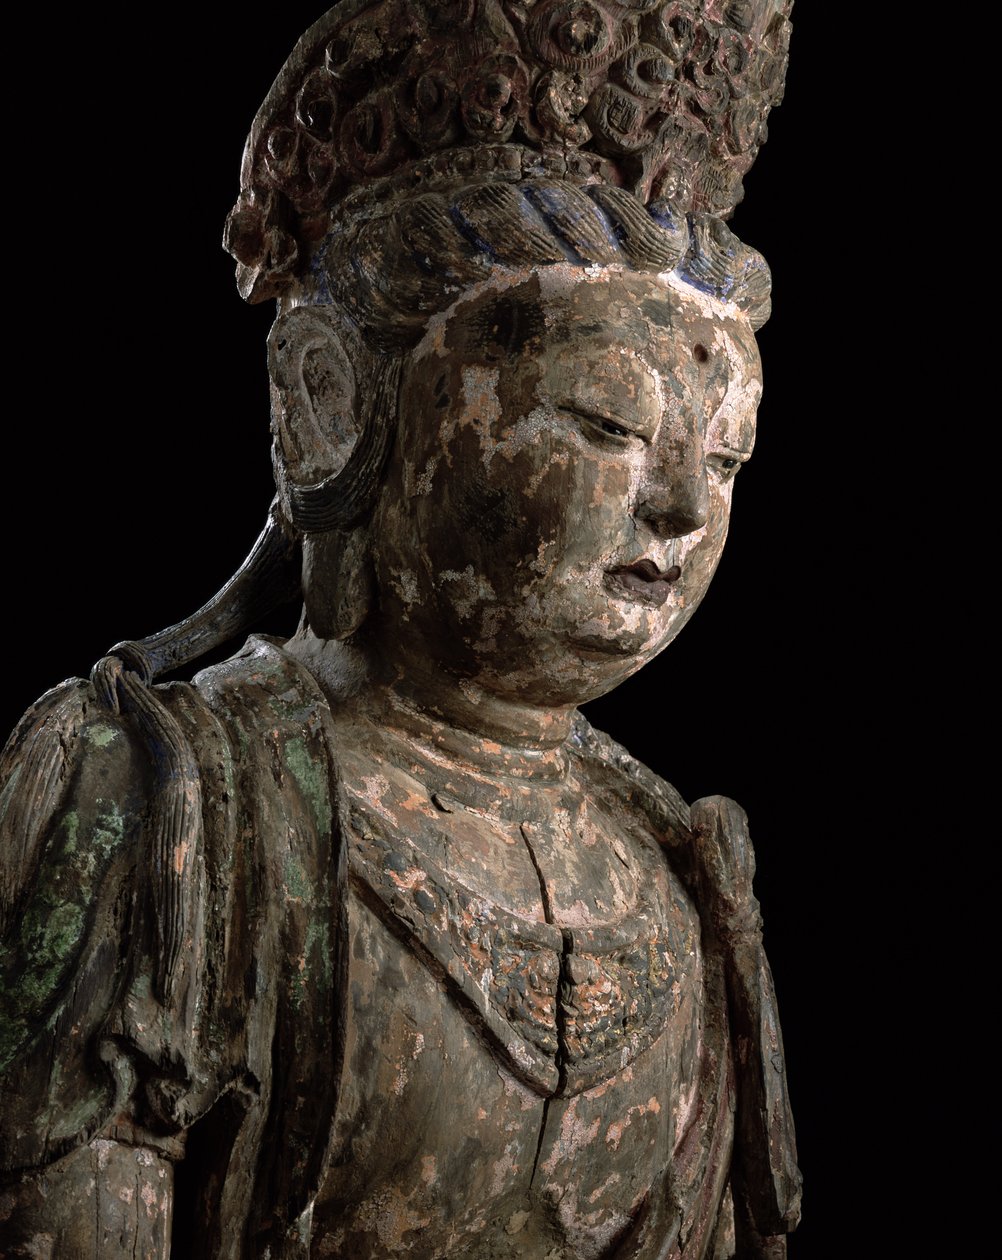
 1282 (wood) (detail of 394833) - (MeisterDrucke-68230).jpg "Standing Kuan-yin, Yuan Dynasty, 1282 (detail)")
 1282 (wood) (see 394834 for detail) - (MeisterDrucke-101697).jpg "Standing Kuan-yin, Yuan Dynasty")
_c550-60_(Sandstone_with_pigment)_-_(MeisterDrucke-922989).jpg "Bodhisattva, Probably Avalokiteshvara (Guanyin)")
_(see_208010)_-_(MeisterDrucke-1056063).jpg "Guanyin, Song dynasty (detail)")
_Period_of_Division_550-5_-_(MeisterDrucke-436663).jpg "Head of the Bodhisattva Mahasthamaprapta (Ta-shih-chih)")
_(wood_pigmen_-_(MeisterDrucke-580383).jpg "Large Seated Bodhisattva with Hands Raised, Jin Dynasty (1115-1234)")
_-_(MeisterDrucke-1009395).jpg "The Bodhisattva Guanyin")
.jpg "Chinese art: statue representing a Kasyapa, monk disciple of Buddha. Sui Dynasty")
.jpg "Shotoku Taishi at Age Two")
.jpg "Avalokitesvara figure from the Srivijaya Period, found in Chaiya, Thailand, 9th-10th century")
.jpg "Buddha of Infinite Life and Light Amida Nyorai")
_Shanghai_Nationa_-_(MeisterDrucke-1059248).jpg "Painted wooden sculpture of a Bodhisattva, Song dynasty (960-1279), Shanghai National Museum. Photograph by Léonard de Selva, China, 2006.")
.jpg "Court Official Tomb Figure")
_Heian_period_early_10th_century_(solid_w_-_(MeisterDrucke-1034295).jpg "Juichimen Kannon (Eleven-headed Kannon)")
_4th-3rd_century_BC_-_(MeisterDrucke-436657).jpg "Garment Hook (kou)")
.jpg "Seated figure of Dainichi Nyorai")
_-_(MeisterDrucke-996879).jpg "Buddha, Davaravati Period")
.jpg "Nepalese-Chinese-Style Bodhisattva")
_-_(MeisterDrucke-1034275).jpg "Prince Shotoku at Age Two, c.1300")
_-_(MeisterDrucke-978321).jpg "Bosatsu, mid 12th century")
_-_(MeisterDrucke-910416).jpg "Figure of Avalokiteshvara")
_(detail_of_119005)_-_(MeisterDrucke-1053187).jpg "Bodhisattva Avalokitesvara, Yuan Dynasty (detail)")
.jpg "Standing bodhisattva")
_-_(MeisterDrucke-416156).jpg "Seated figure, Western Jin, 265-316")
_-_(MeisterDrucke-436445).jpg "Figure of a Bodhisattva")
.jpg "Small Bust of Buddhist Figure")
.jpg "Figure of Guanyin")
.jpg "Portrait of Chinese Empress, 1600")
_-_(MeisterDrucke-519027).jpg "Emperor Qianlong in Old Age (1711-1799)")
.jpg "The Hall of Parents")
_at_home_from_a_history_of_Chinese_emperors_(col_-_(MeisterDrucke-65751).jpg "Emperor Hsuan Tsung (712-756 AD) at Home, from a History of Chinese Emperors")
.jpg "Rhinoceros Hornbill, from Drawings of Birds from Malacca, c.1805-18")
.jpg "Black-naped Oriole, from Drawings of Birds from Malacca, c.1805-18")
.jpg "The Peach Festival of the Queen Mother of the West, Ming or Qing Dynasty, 17th-18th century")
.jpg "Boorong koonjiet koonjiet, Jambo Flore mera, from")
.jpg "Sangole latong, from Drawings of Plants from Malacca, c. 1805-18")
.jpg "Pineapple or Bromelia, from Drawings of Plants from Malacca, c. 1805-18")
.jpg "Doorean or Durio Hercorae, from Drawings of Plants from Malacca, c.1805-18")
_strolling_in_his_gardens_with_his_wives_from_a_history_-_(MeisterDrucke-413189).jpg "Emperor Yang Ti strolling in his gardens with his wives")
.jpg "Japonica, Magnolia and Butterflies")
.jpg "Red Plantain, Pisang oodang, from Drawings of Plants from Malacca, c. 1805-18")
_on_his_buffalo_followed_by_a_disciple_(wc_on_paper)_-_(MeisterDrucke-420939).jpg "Lao-Tzu (c.604-531) on his buffalo, followed by a disciple")
.jpg "Thin Plaque Cut in Arc of Circle, of the Type Huang")
 - (MeisterDrucke-205051).jpg "Artemis of Ephesus")
 - (MeisterDrucke-374965).jpg "Kohl Pot, depicting the Egyptian household god Bes")
 - (MeisterDrucke-324206).jpg "Vincennes plate, c.1745")
 c1752 (marble) - (MeisterDrucke-177974).jpg "Portrait bust of Jonathan Swift, c.1752")
.jpg "Cubical sundial showing the time in ancient Italian, Babylonian and Jewish systems of hours, Florentine")
.jpg "America, from a group representing the Four Continents of the World")
 - (MeisterDrucke-570088).jpg "Flowers in a pot")
 (marble) - (MeisterDrucke-195856).jpg "Woman with a diadem")
 - (MeisterDrucke-250087).jpg "Theseus slaying a centaur")
 - (MeisterDrucke-168259).jpg "The Genius of Victory, 1532-34")
.jpg "Buddha, Benalmadena Pueblo, Spain")
_-_(MeisterDrucke-434649).jpg "Reliquary Monstrance with Piece of Cross, Augsburg (c.1490)")
 1807 (marble) - (MeisterDrucke-175661).jpg "William Pitt the Younger, 1807")
.jpg "Interior of the First Hypostyle Hall, New Kingdom")
.jpg "Cubist Lilies")
.jpg "Garden in Giverny")
.jpg "The Tortoise Trainer")
.jpg "Merry Christmas")
 - (MeisterDrucke-103105).jpg "Orchard with roses")
.jpg "Eiger, Mönch and Jungfrau in the Morning Sun")
.jpg "Swans in the Reeds, c. 1820")
.jpg "In the Shadow of an Italian Pergola, A Warm Afternoon in Anacapri")
 1914-18 (see also 64185 64186) - (MeisterDrucke-96418).jpg "The Waterlilies - The Clouds (right side), 1914-18")
.jpg "Avenue in Overveen")
.jpg "Wanderer above the Sea of Fog")
.jpg "Starry Night over the Rhône, 1888")
.jpg "The Hunt")
.jpg "Nocturne in Black and Gold: The Falling Rocket, 1875")
.jpg "Poplars on the River Seine")

 +43 4257 29415
 support@meisterdrucke.com
 Mo-Do: 7:00 - 16:00 | Fr: 7:00 - 13:00